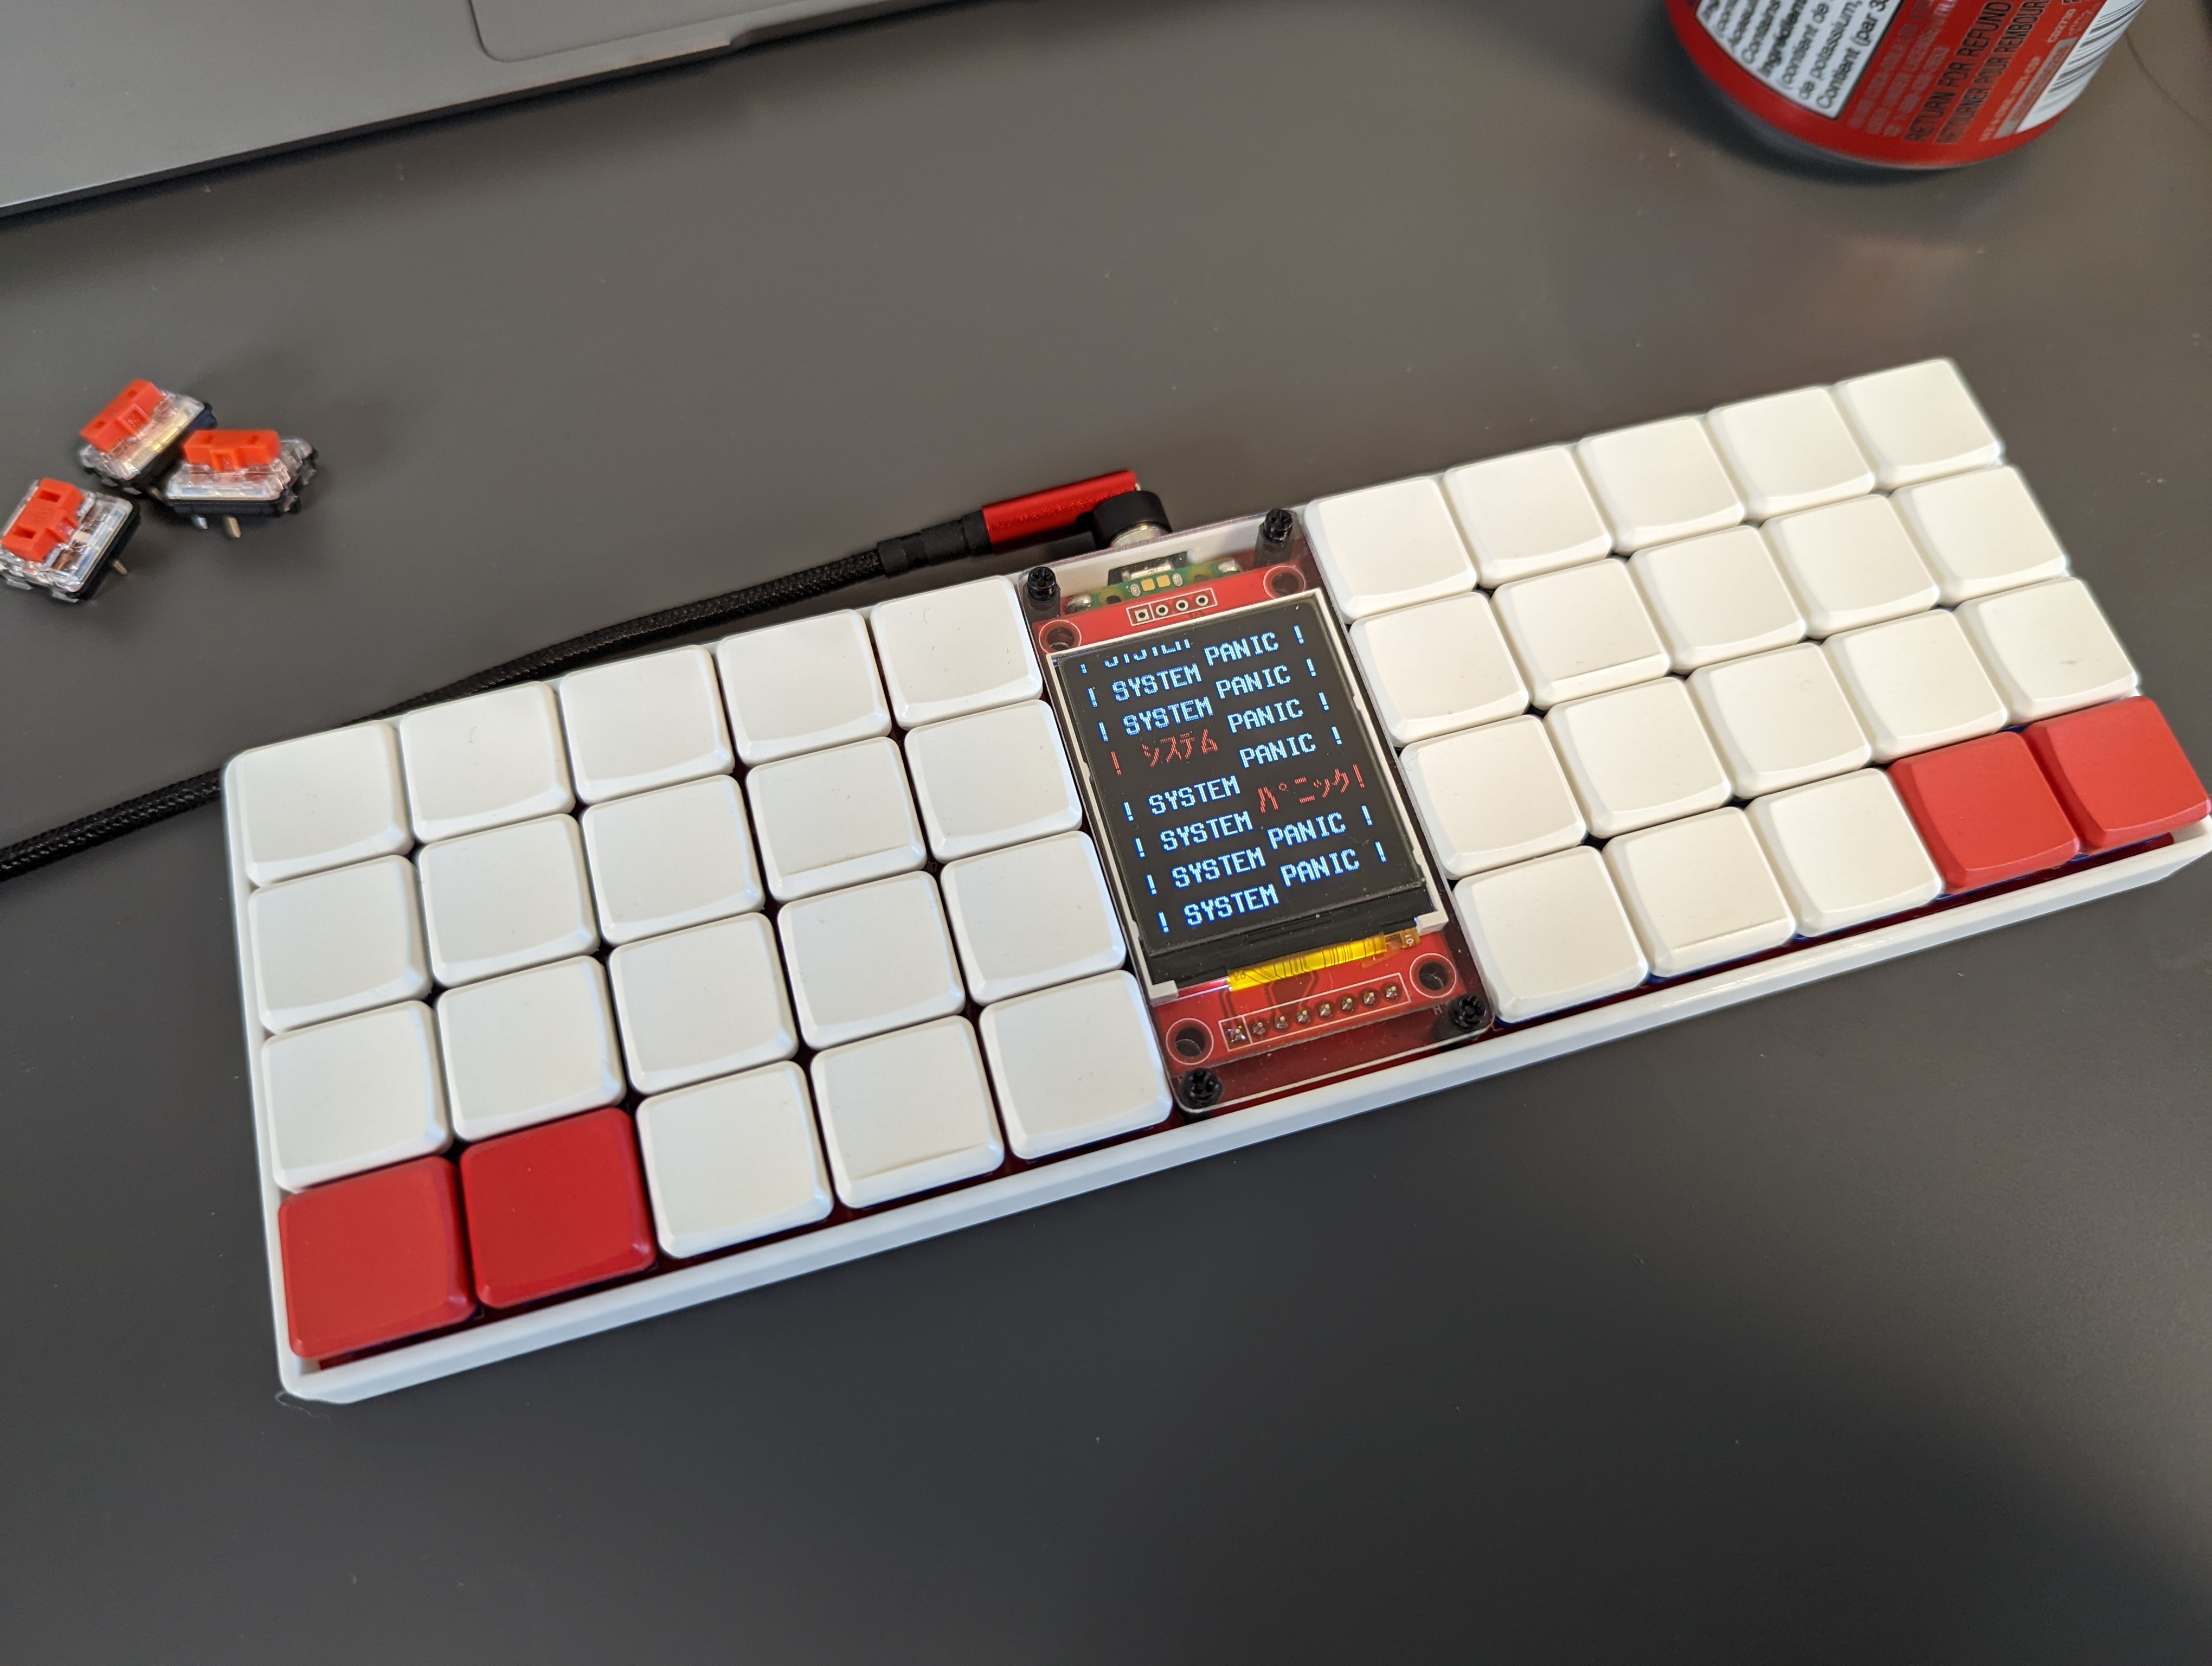
A 4x10 low profile ortholinear keyboard with an lcd screen in the center. Uses the Raspberry Pi Pico as well as firmware written in Rust (though QMK works too*)
- Low Profile
- Keyboard is around 16.5mm thick, keys and keycaps included
- 1.8" LCD Screen
- Ample real estate for animations, UI, games(?), etc.
- Uses the Raspberry Pi Pico
- 2MB of flash storage
- Lots of room for programming with MicroPython, or room for graphics and code
- 2MB of flash storage
- Parts readily available
- Only SMD parts required are diodes and kailh choc hotswap sockets
- Supports QMK or Rust firmware
- QMK hex can be found in firmware file
- Uses Keyberon as the firmware base, allowing for a "modular" firmware that can easily be built upon
- More details can be found in DESIGN.md
Display demo here:
Prototypes are functional, though firmware is still WIP! v0.0 needs a jumper cable from the Pico to the reset pin in the TFT, but works perfectly fine with the Raspberry Pi Pico aside from that. v0.1 fixes this issue (currently in the master branch), though hasn't been produced and tested yet.
I need to fix a bug with the animation slowing down, though I suspect it'll mostly involve tinkering with RTOS timings
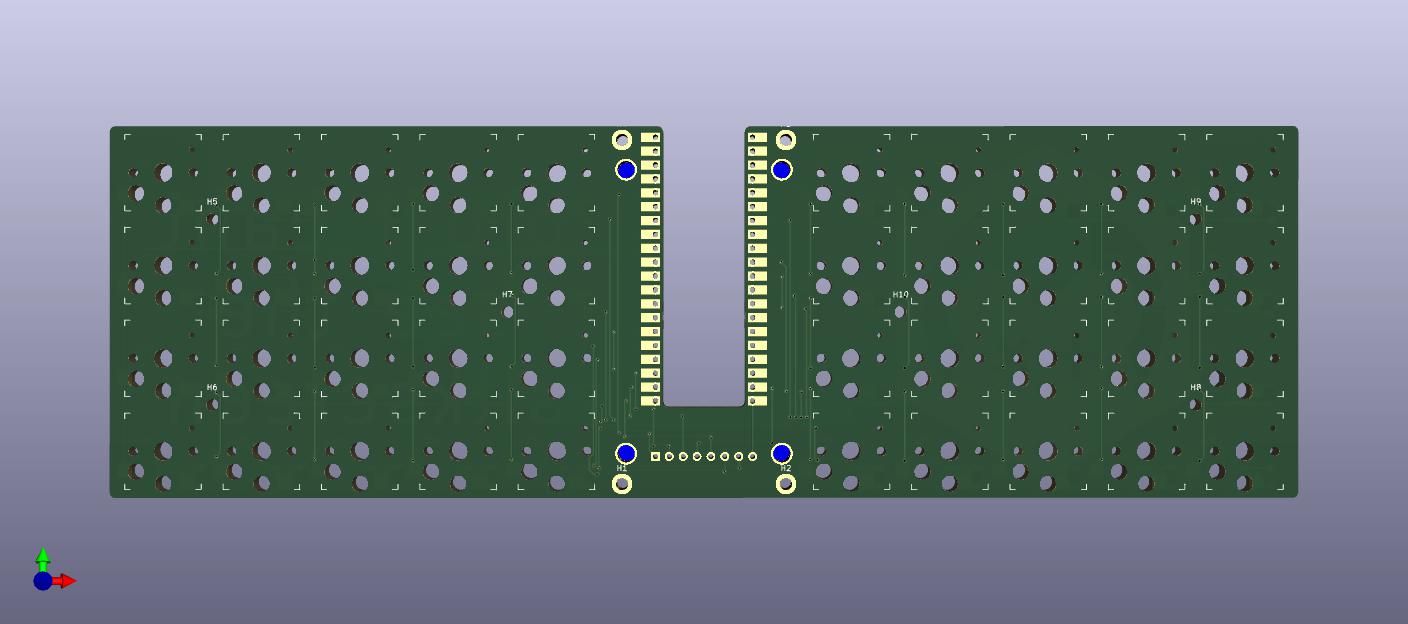
You can generate the gerbers from source in the pcb directory, and send off imediately to PCBWay or the like. PCBWay has helped sponsor this project, and has provided a fast, easy service while ordering from them. I was also suprised how well my board came out desipte being quite oddly shaped, so I recommend checking them out for your next project!
The following is the materials you will want/need to make your own keezyboost40. Note that anything amount after a + denotes the rough amount of spares you may want to have when ordering the parts. Anything involving the acrylic screen is optional. Even the LCD is optional if you prefer more of a lumberjack-y vibe :)
| Part | Count | Notes |
|---|---|---|
| PCB | 1 | duh |
| Kailh Choc Hotswap Switches | 40+10 | |
| LL4148 SMD Diodes | 40+10 | This board uses SMD diodes exclusively. I found though-hole diodes often easily slipped around in a way such that the board was no longer able to fit inside the case |
| 1.8" ST7735 TFT | 1 | Generally speaking, you want the one with the Red PCB. Do NOT use the one from Adafruit, as the pin order on that one is different |
| Raspberry Pi Pico | 1 | Try to get the original or a very similar clone with castellated pins. From casual testing, other RP2040 boards may not work (for example, the Pico clones from WeAct can't seem to properly drive the LCD with 3.3V logic) |
| Rubber Feet | 6+2 | Any should generally work, though I'm using ~2.5mm thick ones, as they give more space for screw heads, as well as the magnetic connector I'm using |
| 3D Printed Case | 1 | You could use PCB printing services like PCBWay to make one in resin, though I haven't confirmed if they'd be durable enough to survive in transit |
| M2 Nuts | 10+5 | 6 nuts to hold the PCB to the case, and another 4 to hold the acrylic screen to the PCB. I'm using nylon nuts, though any should work. I recommend you grab this with a hex spacer kit, as you get all the M2 parts you need in a single purchase! |
| M2 8mm Double Female spacer | 4+2 | Spacers to keep the acrylic from the pcb |
| M2 12mm Screw | 4+2 | Screws for the acrylic screen |
| M2 6mm Screw | 6+3 | Screws for the PCB and case. Be careful of the size of the screw head! the flatter the better! |
| Acrylic Screen | 1 | You can cut one out using the svgs in the outlines folder |
See DESIGN.md for small insights about the design choices that went into this board.
caseYou can find the files you need in this folder to print out a case for the keyboarddraftsStores any KLE or intermediate information used in making the casefirmwareUsed to store any firmware relating to the keyboard. Merges to the QMK repo planned.outlinesOutlines used for the acrylic screen. Use these to cut your own!pcbKicad project relating to the project


