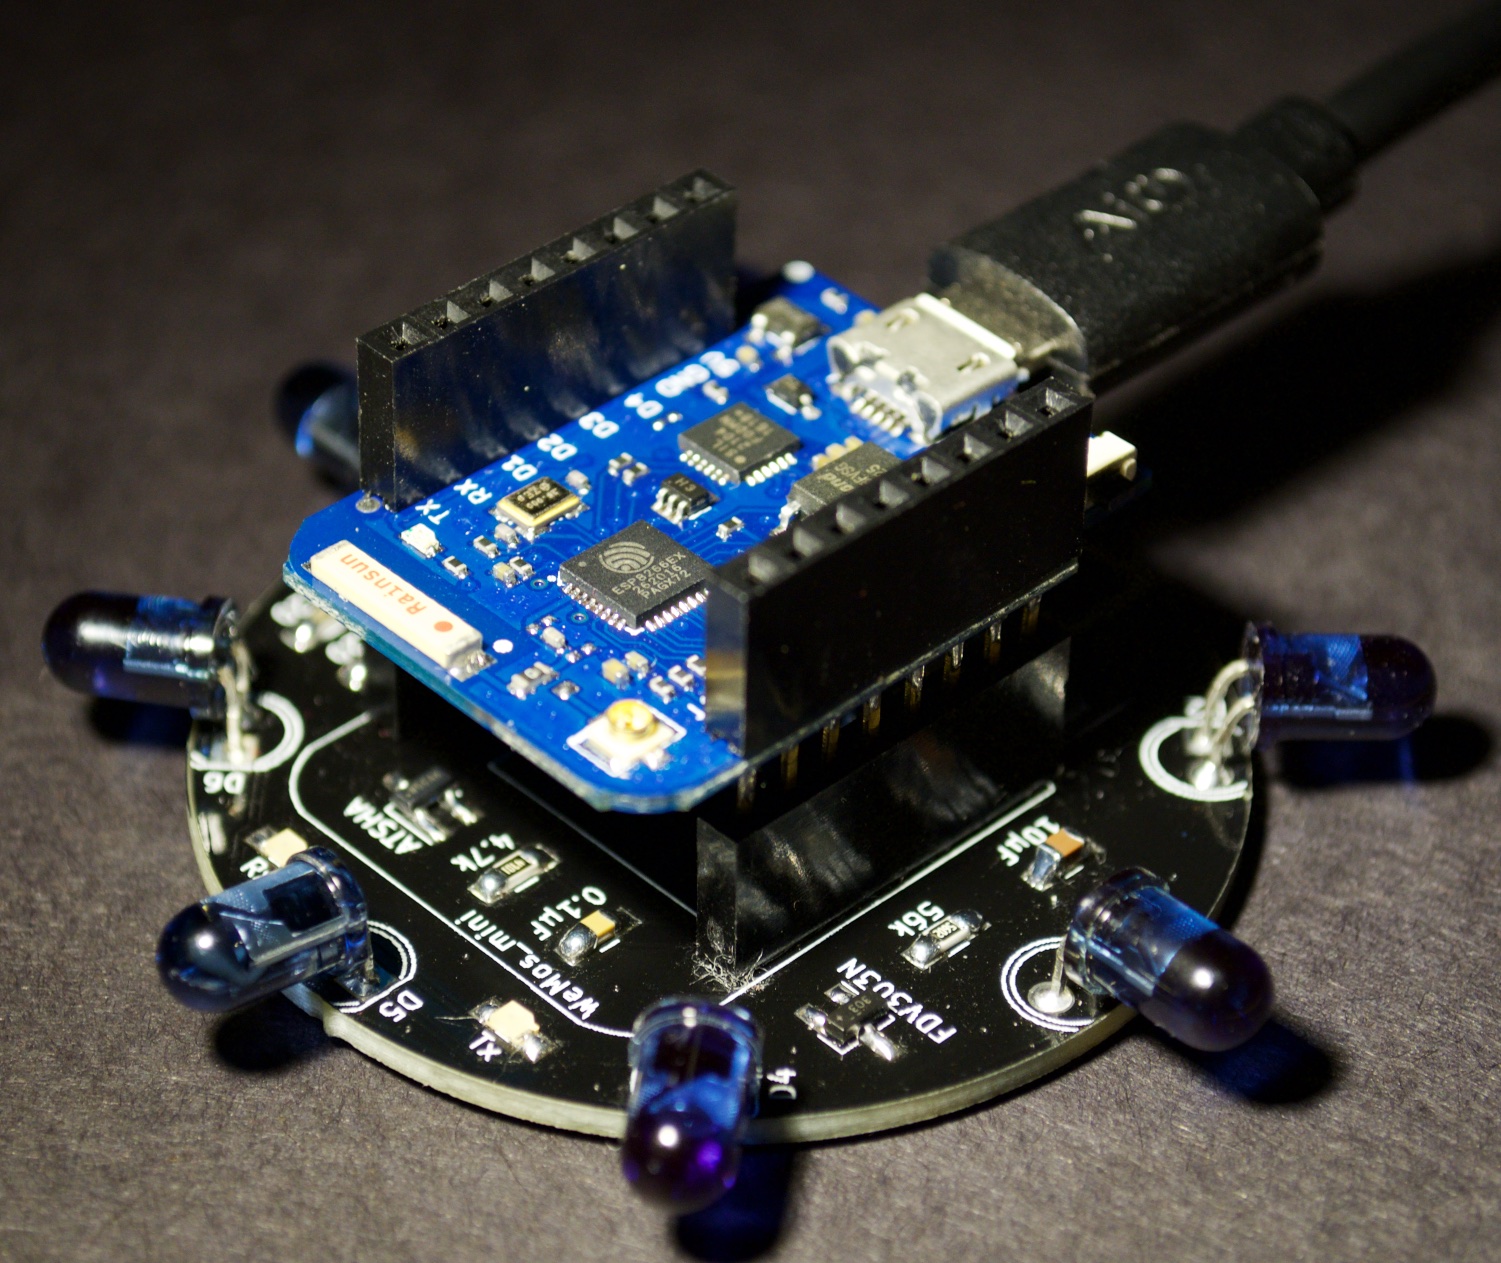
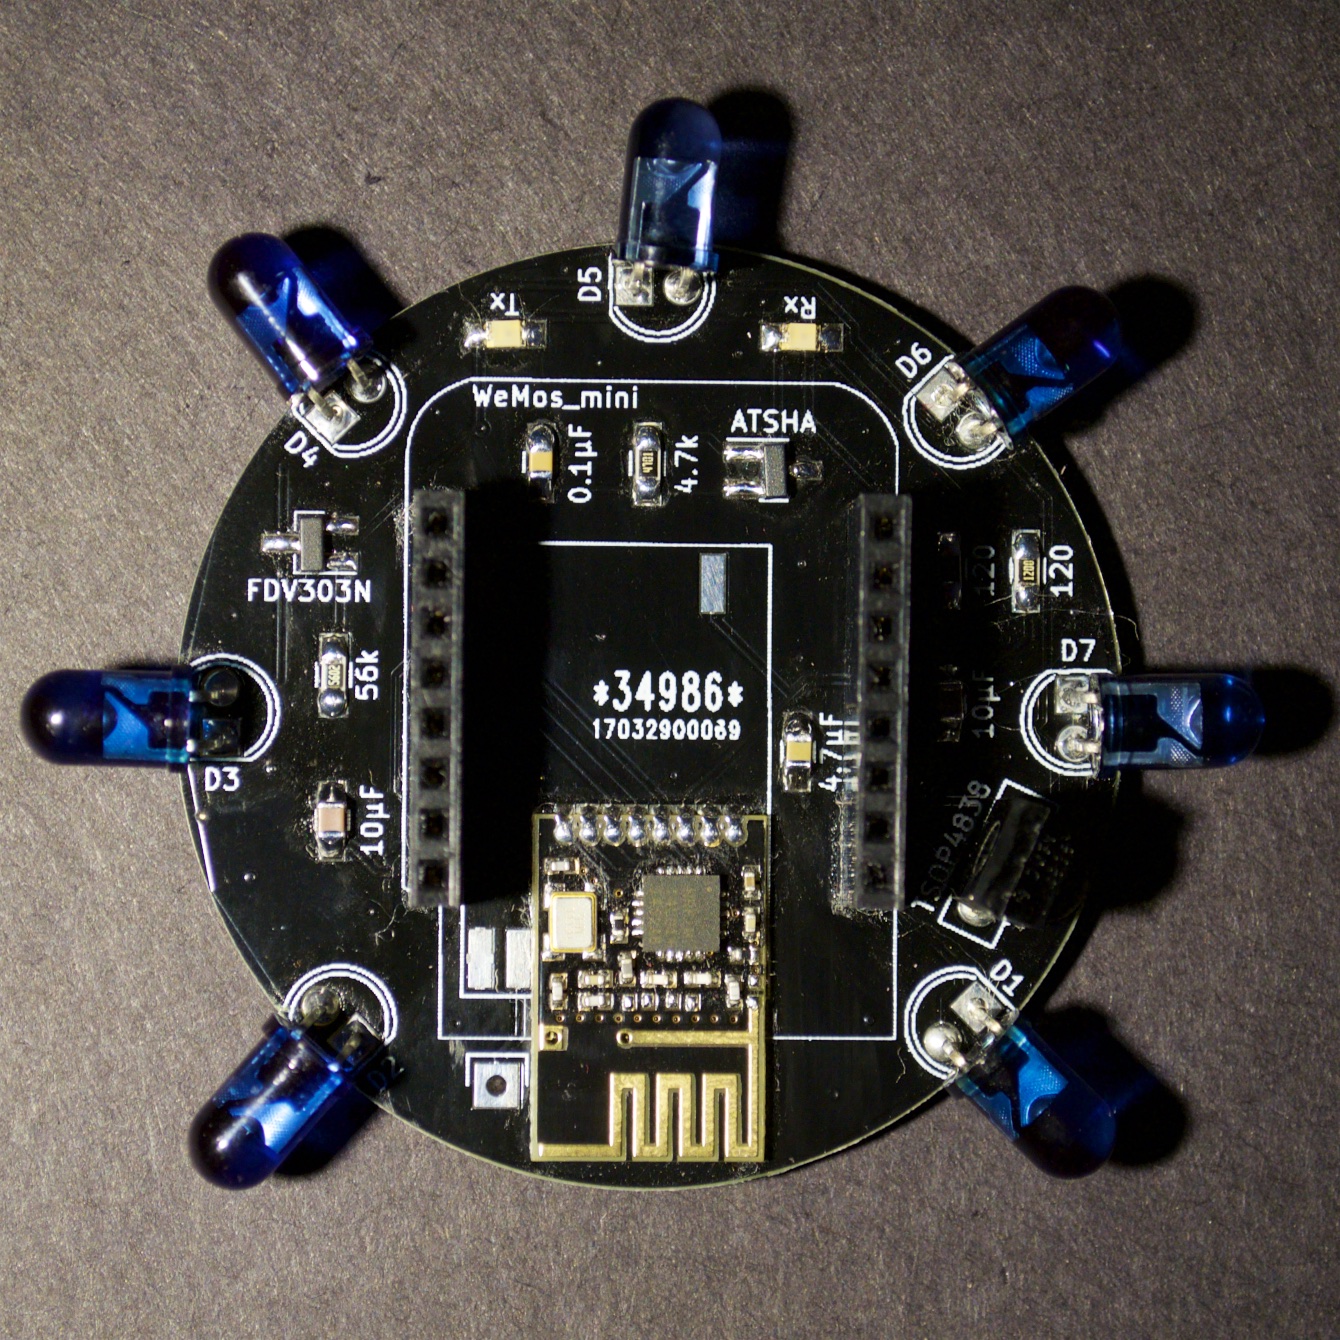
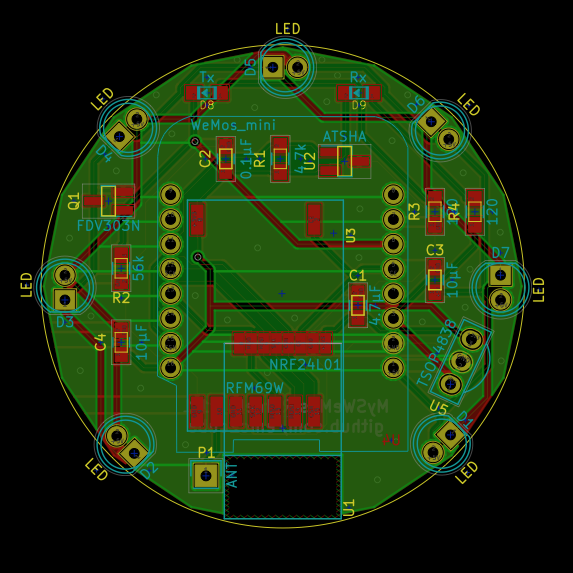
MySensors WeMos Mini Infra-Red blaster and receiver shield with support for SMD NRF24L01+ or SMD RFM69(H)W radio modules.
Gerber files are included so you can order these PCB at your favorite PCB fab house and solder the few components yourself. For an easy ordering process, you can directly order these PCB without having to do anything else:
- PCBs.io 4 for $14.70, black 1.6mm PCB, ENIG finish, 2-3 weeks.
- DirtyPCBs ~10 for $15.95, multiple colors and PCB thickness, HASL finish, 5-8 weeks.
Start by soldering all the SMD components, then proceed to WeMos header, IR LEDs and IR receiver. By default, the BOM indicates TSAL6400 LEDs but you can use any high-power IR LEDs to have different beam angle or power according to your needs. I personally use a mix of TSAL6400, TSAL6200 and TSAL6100. Some of the SMD 0805 capacitors are optional and could be skipped but I still recommended to solder all of them for optimal operation.
Tx and Rx LEDs are optional. Their only purpose is to indicate than an IR signal was either sent or received. If you do not wish to add these status LEDs you can also skip both 120Ω SMD 0805 resistors. By default, in the BOM Rx is green and Tx is yellow, but you can use different colors, update their corresponding current limiting resistor if needed.
For security reasons, you can add a CryptAuthEE SHA256 chip. This will allow you to sign messages and will secure communications between the gateway and other nodes (this is not encryption, just signing). If you decide to add the ATSHA204 chip you will need to add a 0.1µF SMD 0805 decoupling capacitor and 4.7kΩ SMD 0805 pull-up resistor. Signing can also be done at the software level, without the chip if you decide to add this function later. For complete reference see the detailed MySensors Security & Signing guide
The Infra-Red module is optional, if you already know your IR codes or plan to learn them separately you can omit it.
Because this module is based on ESP8266 you do not necessary need to install a radio module.
- You can use it as an independent module, only using HTTP, internal timers or with any other program that do not need to communicate with a radio network.
- You can use it as a gateway, connecting your controller to the module by WiFi directly.
Plug your WeMos Mini on top of the shield and power it through the micro USB port. Do not forget to edit the various options of the Arduino example code before uploading it.
Included program
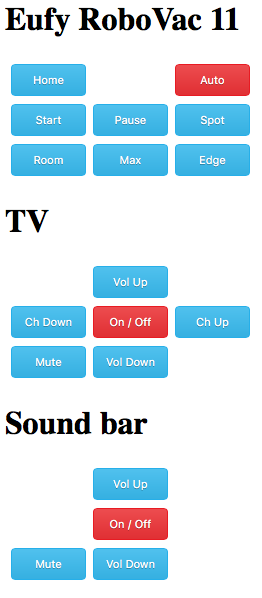
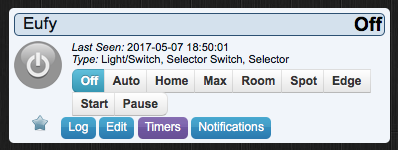
Example code implementing custom web server and MySensors support. You will (very probably) need to modify this code with your own IR codes and definitions. This program was created to allow me to control my Eufy RoboVac 11 robotic vacuum cleaner which unfortunately by default lack of any advanced scheduling options. By default, this vacuum cleaner will start its "auto" mode every day at the same hour, but can now be scheduled to operate only certain days, at different times, or even using different modes.
This program will set up a web server on your WeMos that you can access from any other device on your local network or by connecting directly to the ESP8266 hotspot (depending on WiFi settings) allowing you to trigger IR commands. Interface is optimized for access through a smartphone, allowing you to use it as a smart remote.
It will also create a MySensors node behaving like a selector switch. You can then program it to perform various actions through your controller.
Version 1.0: Initial release.
This project use the Kicad footprints and templates for WeMos D1 mini board library.
