This is a comprehensive project guide on the integration of an ESP32 camera with ESPHome and Frigate. This repository illustrates a step-by-step walkthrough on how to connect an ESP32 camera module to Frigate.
The esphome-config.yaml file provided within this repository is specifically curated for an Ai-Thinker ESP32-CAM, but don't worry, if you have a different board model you can easily edit it to suit your needs.
Before diving into the actual process, please ensure you have the following installations:
Notably, if you are already running a Home Assistant server, these platforms can be readily installed from the Add-ons Store Page.
-
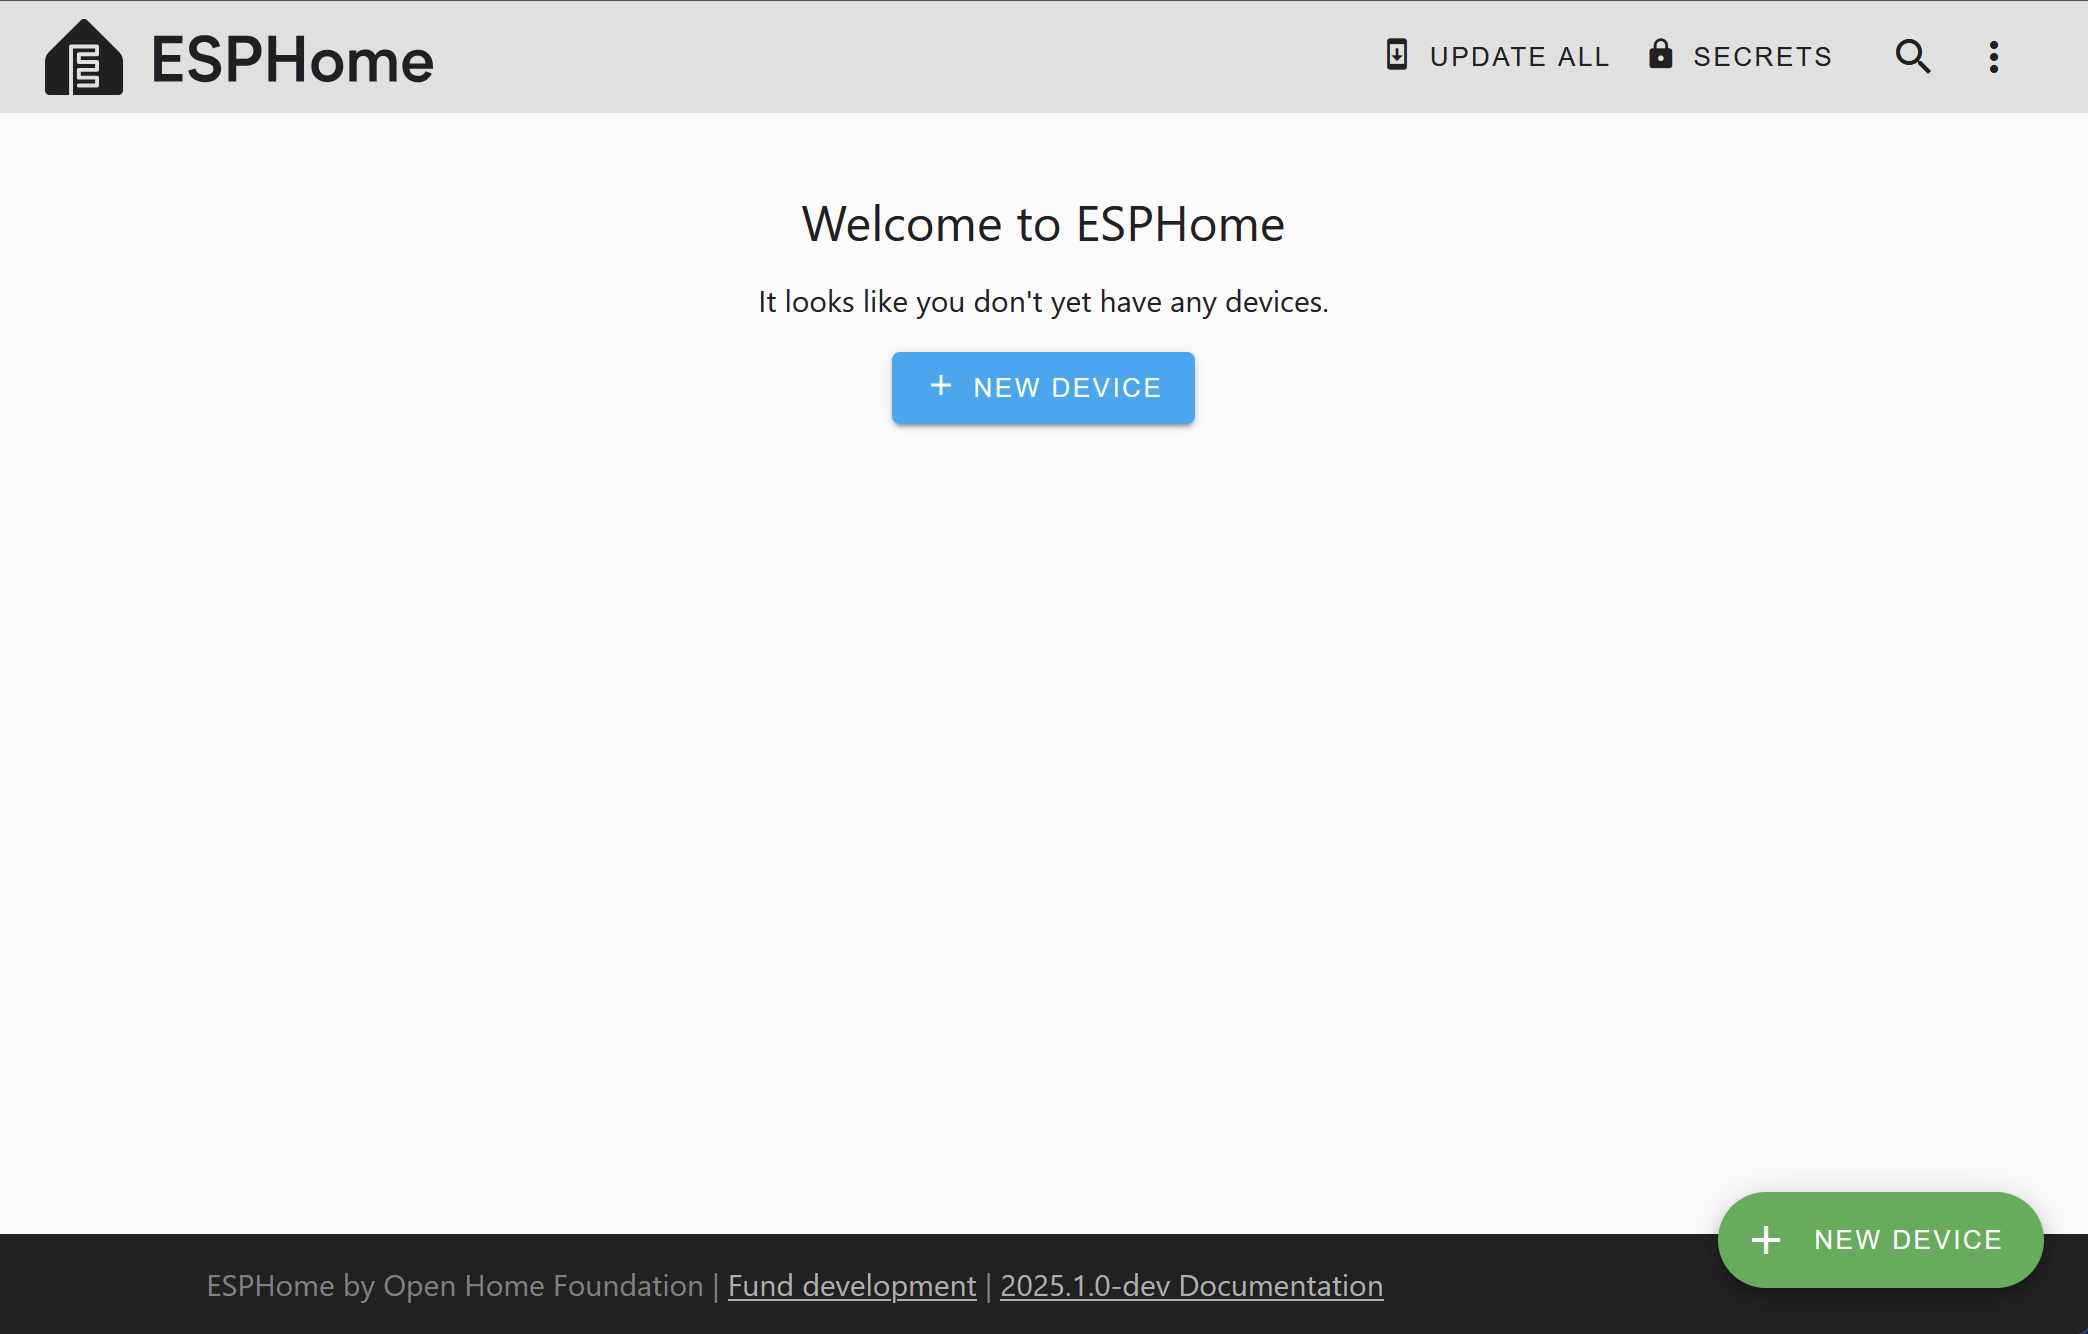
Add a New Device: Start by adding a new device from your ESPHome dashboard.
-
Configuration Replacement: Proceed by replacing all the contents of your configuration file with the
esphome-config.yaml. -
Save and Upload: After successfully replacing the contents, click on 'Save and upload' your file. (with your esp-cam connected to your computer)
-
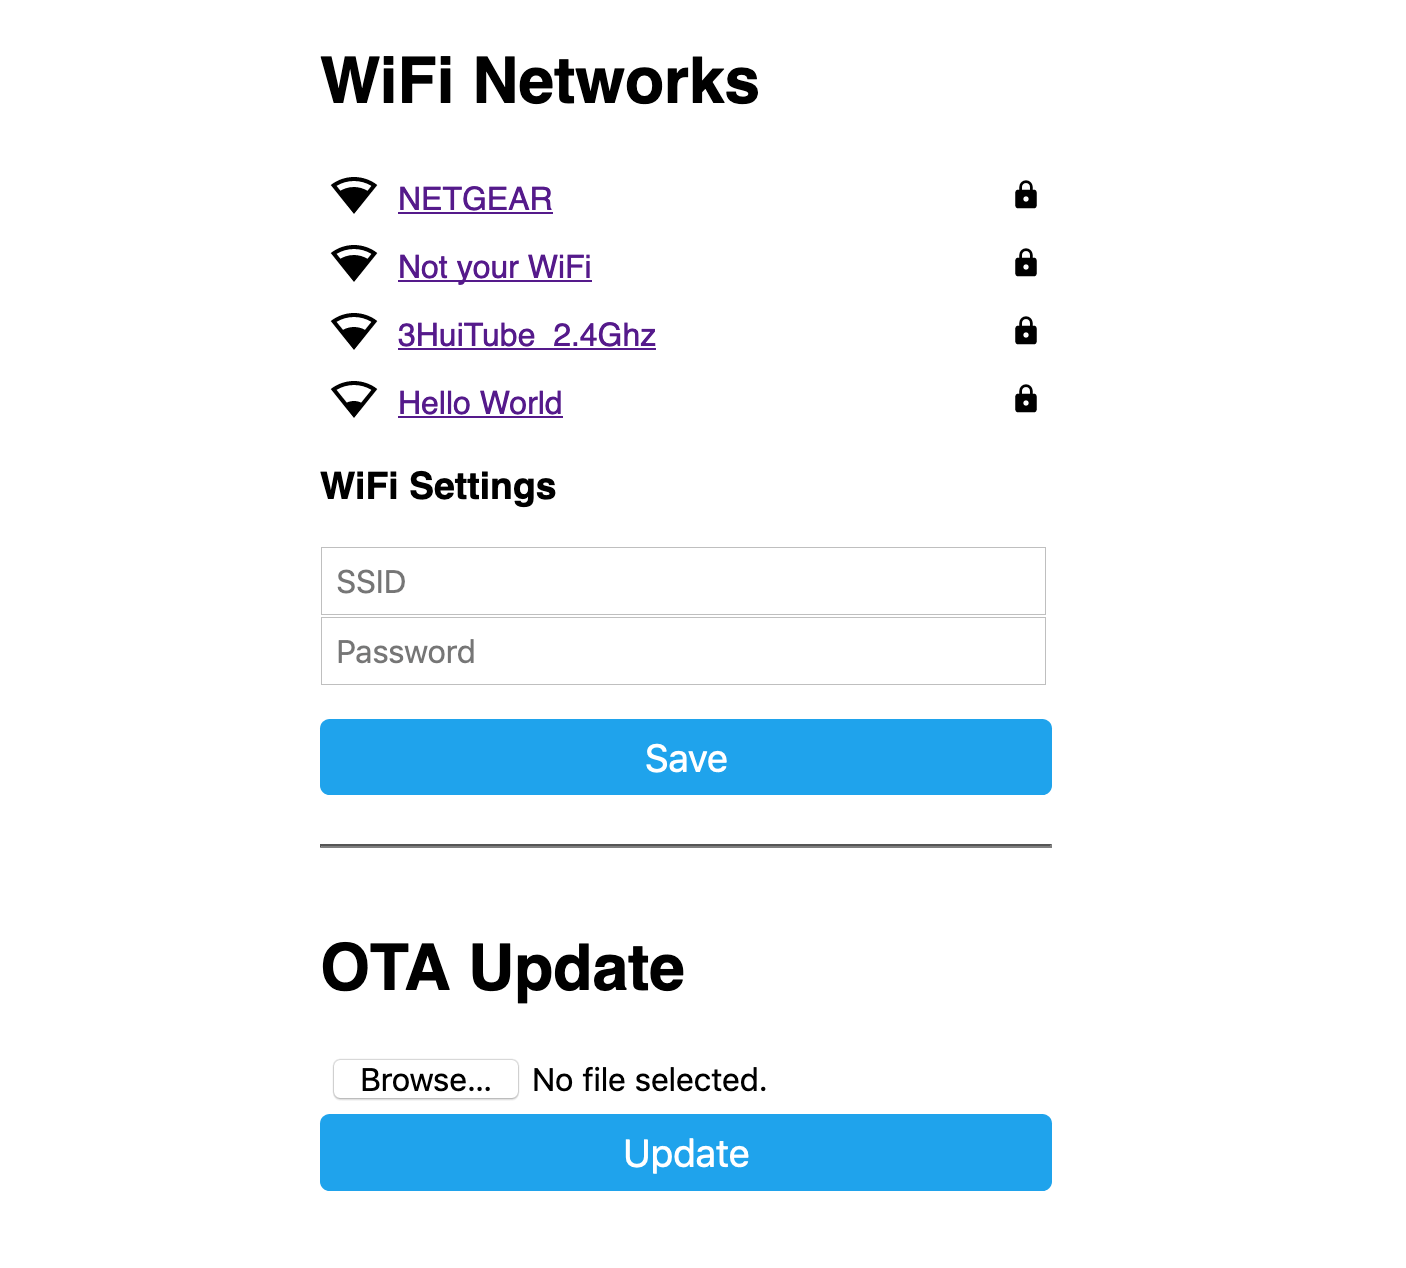
Wifi Credential Setup:
-
Connect to the esp camera wifi ap from your phone or computer
-
Open this page http://192.168.4.1
-
Select your wifi network and type your password
-
-
Find the IP Address: Start by finding your ESP32 camera's ip address.
-
Frigate Config: Proceed with the addition of the contents from this repository to your
frigate.yamlconfig file. -
MQTT Server: If you haven't already make sure to add your MQTT server information on your
frigate.yamlfile -
Camera Config: Replace the sample ESP-CAM ip address with your's.
-
Restart: Restart Frigate to load the changes.
By this step, you should have a fully functional ESP32 camera integrated with Frigate and ESPHome. Happy tinker! 🎉🚀


