This project is a docker compose installation of a single site WordPress instance using Nginx as the web server and MariaDB as the database.
This include lets encrypt certification, renewal as well as ddns ip update in package.
- Let's Encrypt SSL enabled option using https://github.com/acmesh-official/acme.sh
- Work inspired by: Dockerizing WordPress with Nginx and PHP-FPM on Ubuntu 16.04
What is WordPress?
- WordPress is open source software you can use to create a beautiful website, blog, or app.
- More information at https://wordpress.org
- TL;DR - I don't want details and just want to run WordPress locally using http
- Setup and configuration - environment and configuration setup options
- .env_example - environment variable declaration for docker-compose to use
- HTTP or HTTPS? - http or https (via Let's Encrypt) to serve your content
- SSL certificates - secure socket layer encryption options
- Let's Encrypt initialization - use Let's Encrypt for SSL certificates (Important NOTE regarding DNS registration assumptions)
- Deploy - deploying your WordPress site
- Running site - what to expect after you deploy
- Stop and remove - clear all files associated with running the site
- Optional configuration - additional options for deploying your site
- Demo : Example deployment - full example deployment to https://www.ioblueprint.com/
NOTE: assumes you are starting from the top level of the cloned repository (PWD == ./wordpress-nginx-letsencrypt-docker)
$ ./start_wordpress.shAfter a few moments you should see your site running at http://127.0.0.1 ready to be configured.
Further details available here.
A .env_example file has been included to more easily set docker-compose variables without having to modify the docker-compose.yml file itself.
Default values have been provided as a means of getting up and running quickly for testing purposes. It is up to the user to modify these to best suit their deployment preferences.
Create a file named .env from the .env_example file and adjust to suit your deployment
cp .env_example .env
Example .env file (default values):
WORDPRESS_VERSION=php7.3-fpm-alpine
WORDPRESS_DB_NAME=wordpress
WORDPRESS_TABLE_PREFIX=wp_
WORDPRESS_DB_HOST=mysql
WORDPRESS_DB_USER=root
WORDPRESS_DB_PASSWORD=password

# mariadb - mariadb:latest
MARIADB_VERSION=latest
MYSQL_ROOT_PASSWORD=password
MYSQL_USER=root
MYSQL_PASSWORD=password
MYSQL_DATABASE=wordpress

# nginx - nginx:latest
NGINX_VERSION=alpine

# volumes on host
NGINX_CONF_DIR=./nginx
NGINX_LOG_DIR=./logs/nginx
WORDPRESS_DATA_DIR=./wordpress

#virtual hosts nad lets encrypt host
NGINX_PROXY_CONF_DIR=./nginx-proxy_conf

HTTPS_METHOD=nohttp
DEFAULT_EMAIL=<youremail@xyz.com>

#Application vhost and letsencrypt mode
VIRTUAL_HOST=<YOUR_DOMAIN.com>
LETSENCRYPT_DNS_MODE=dns_dynu
LETSENCRYPT_DNS_MODE_SETTINGS=export Dynu_ClientId=<your clieid>; export Dynu_Secret=<dynu_secret>

LETSENCRYPT_ACME_DIR=./acme
SSL_CERTS_DIR=./certificatesDirectories are created on the host and volume mounted to the docker containers. This allows the user to persist data beyond the scope of the container itself. If volumes are not persisted to the host the user runs the risk of losing their data when the container is updated or removed.
- mysql: The database files for MariaDB
- wordpress: The WordPress media files
- logs/nginx: The Nginx log files (error.log, access.log)
- certificates: SSL certificate files (LetsEncrypt)
From the top level of the cloned repository, directories that will be used for managing the data on the host. These directories are created by
start_wordpress.shThere are three files in the nginx directory, and which one you use depends on whether you want to serve your site using HTTP or HTTPS.
Files in the nginx directory:
default.conf- Example configuration for running locally on port 80 using http.default_http.conf.template- Example configuration for running at a user definedFQDN_OR_IPon port 80 using http.default_https.conf.template- Example configuration for running at a user definedFQDN_OR_IPon port 443 using https.
NOTE: FQDN_OR_IP is short for Fully Qualified Domain Name or IP Address, and should be DNS resolvable if using a hostname.
Both of these are protocols for transferring the information of a particular website between the Web Server and Web Browser. But what’s difference between these two? Well, extra "s" is present in https and that makes it secure!
A very short and concise difference between http and https is that https is much more secure compared to http. https = http + cryptographic protocols.
Main differences between HTTP and HTTPS
- In HTTP, URL begins with http:// whereas an HTTPS URL starts with https://
- HTTP uses port number
80for communication and HTTPS uses443 - HTTP is considered to be unsecured and HTTPS is secure
- HTTP Works at Application Layer and HTTPS works at Transport Layer
- In HTTP, Encryption is absent whereas Encryption is present in HTTPS
- HTTP does not require any certificates and HTTPS needs SSL Certificates (signed, unsigned or self generated)
If you plan to run your WordPress site over http on port 80, then do the following.
- Replace the contents of
nginx/default.confwith thenginx/default_http.conf.templatefile - Update the
FQDN_OR_IPinnginx/default.confto be that of your domain - Run
$ docker-compose up -dand allow a few moments for the containers to set themselves up - Navigate to http://FQDN_OR_IP in a browser where
FQDN_OR_IPis the hostname or IP Address of your site
If you plan to run your WordPress site over https on port 443, then do the following.
- Replace the contents of
nginx/default.confwith thenginx/default_https.conf.templatefile. - Update the
FQDN_OR_IPinnginx/default.confto be that of your domain (occurs in many places) - Review the options for SSL certificates below to complete your configuration
What are SSL Certificates?
SSL Certificates are small data files that digitally bind a cryptographic key to an organization’s details. When installed on a web server, it activates the padlock and the https protocol and allows secure connections from a web server to a browser. Typically, SSL is used to secure credit card transactions, data transfer and logins, and more recently is becoming the norm when securing browsing of social media sites.
SSL Certificates bind together:
- A domain name, server name or hostname.
- An organizational identity (i.e. company name) and location.
Three options for obtaining/installing SSL Certificates are outlined below.
- Let's Encrypt - free SSL Certificate service
- Bring your own - you already have a valid certificate
- Self signed - you can generate your own self signed certificates to use for testing
Let’s Encrypt is a free, automated, and open certificate authority (CA), run for the public’s benefit. It is a service provided by the Internet Security Research Group (ISRG).
We give people the digital certificates they need in order to enable HTTPS (SSL/TLS) for websites, for free, in the most user-friendly way we can. We do this because we want to create a more secure and privacy-respecting Web.
- If you plan on using SSL certificates from Let's Encrypt it is important that your public domain is already DNS registered and publicly reachable.
NOTE: there is an assumption that both the domain.name and www.domain.name are valid DNS endpoints. If this is not the case, you will need to edit two files prior to running the letencrypt-init.sh script.
- m the top of the repository or the
letsencrypt/directory. It is important to run the initialization script BEFORE deploying your site.
USAGE: ./letsencrypt-init.sh FQDN_OR_IP, where FQDN_OR_IP is the publicly registered domain name of your host to generate your initial certificate. (Information about updating your Let's Encrypt certificate can be found further down in this document)
If you plan to use pre-existing certificates you will need to update the nginx/default.conf file with the appropriate settings to the kind of certificates you have.
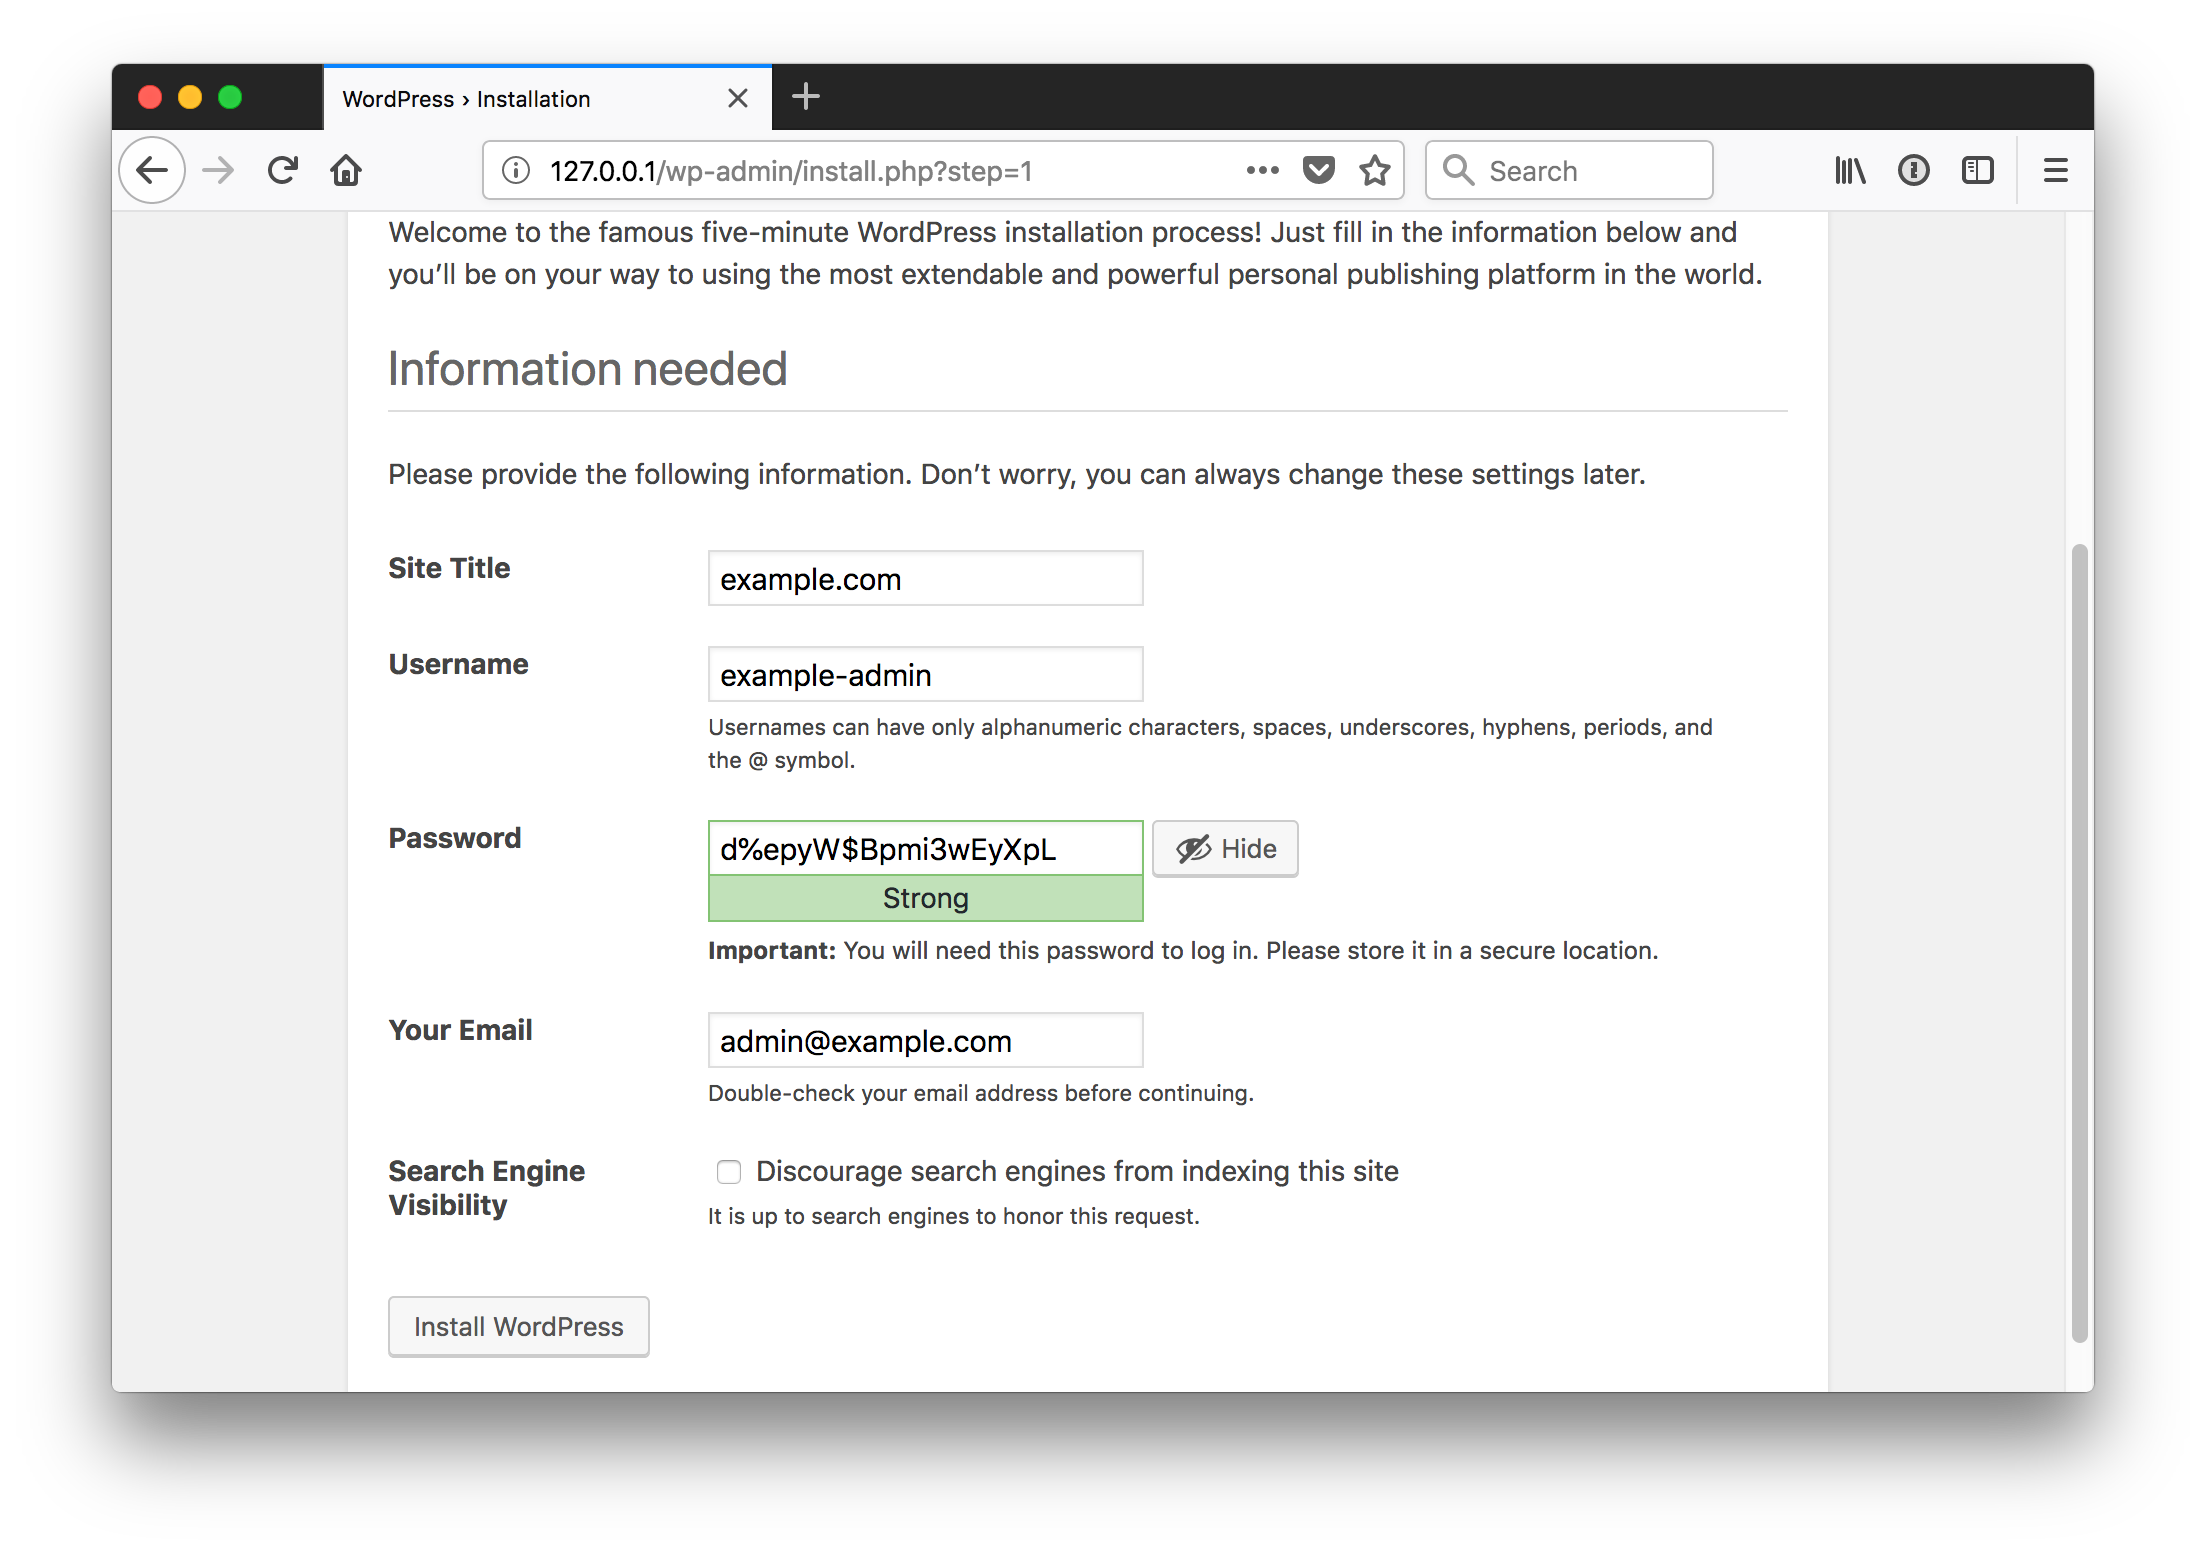
Initial WordPress setup on local and actual dns e.g www.yourwordpress.com
Navigate your browser to http://127.0.0.1 and follow the installation prompts
-
Set language

-
Create an administrative user

-
Success

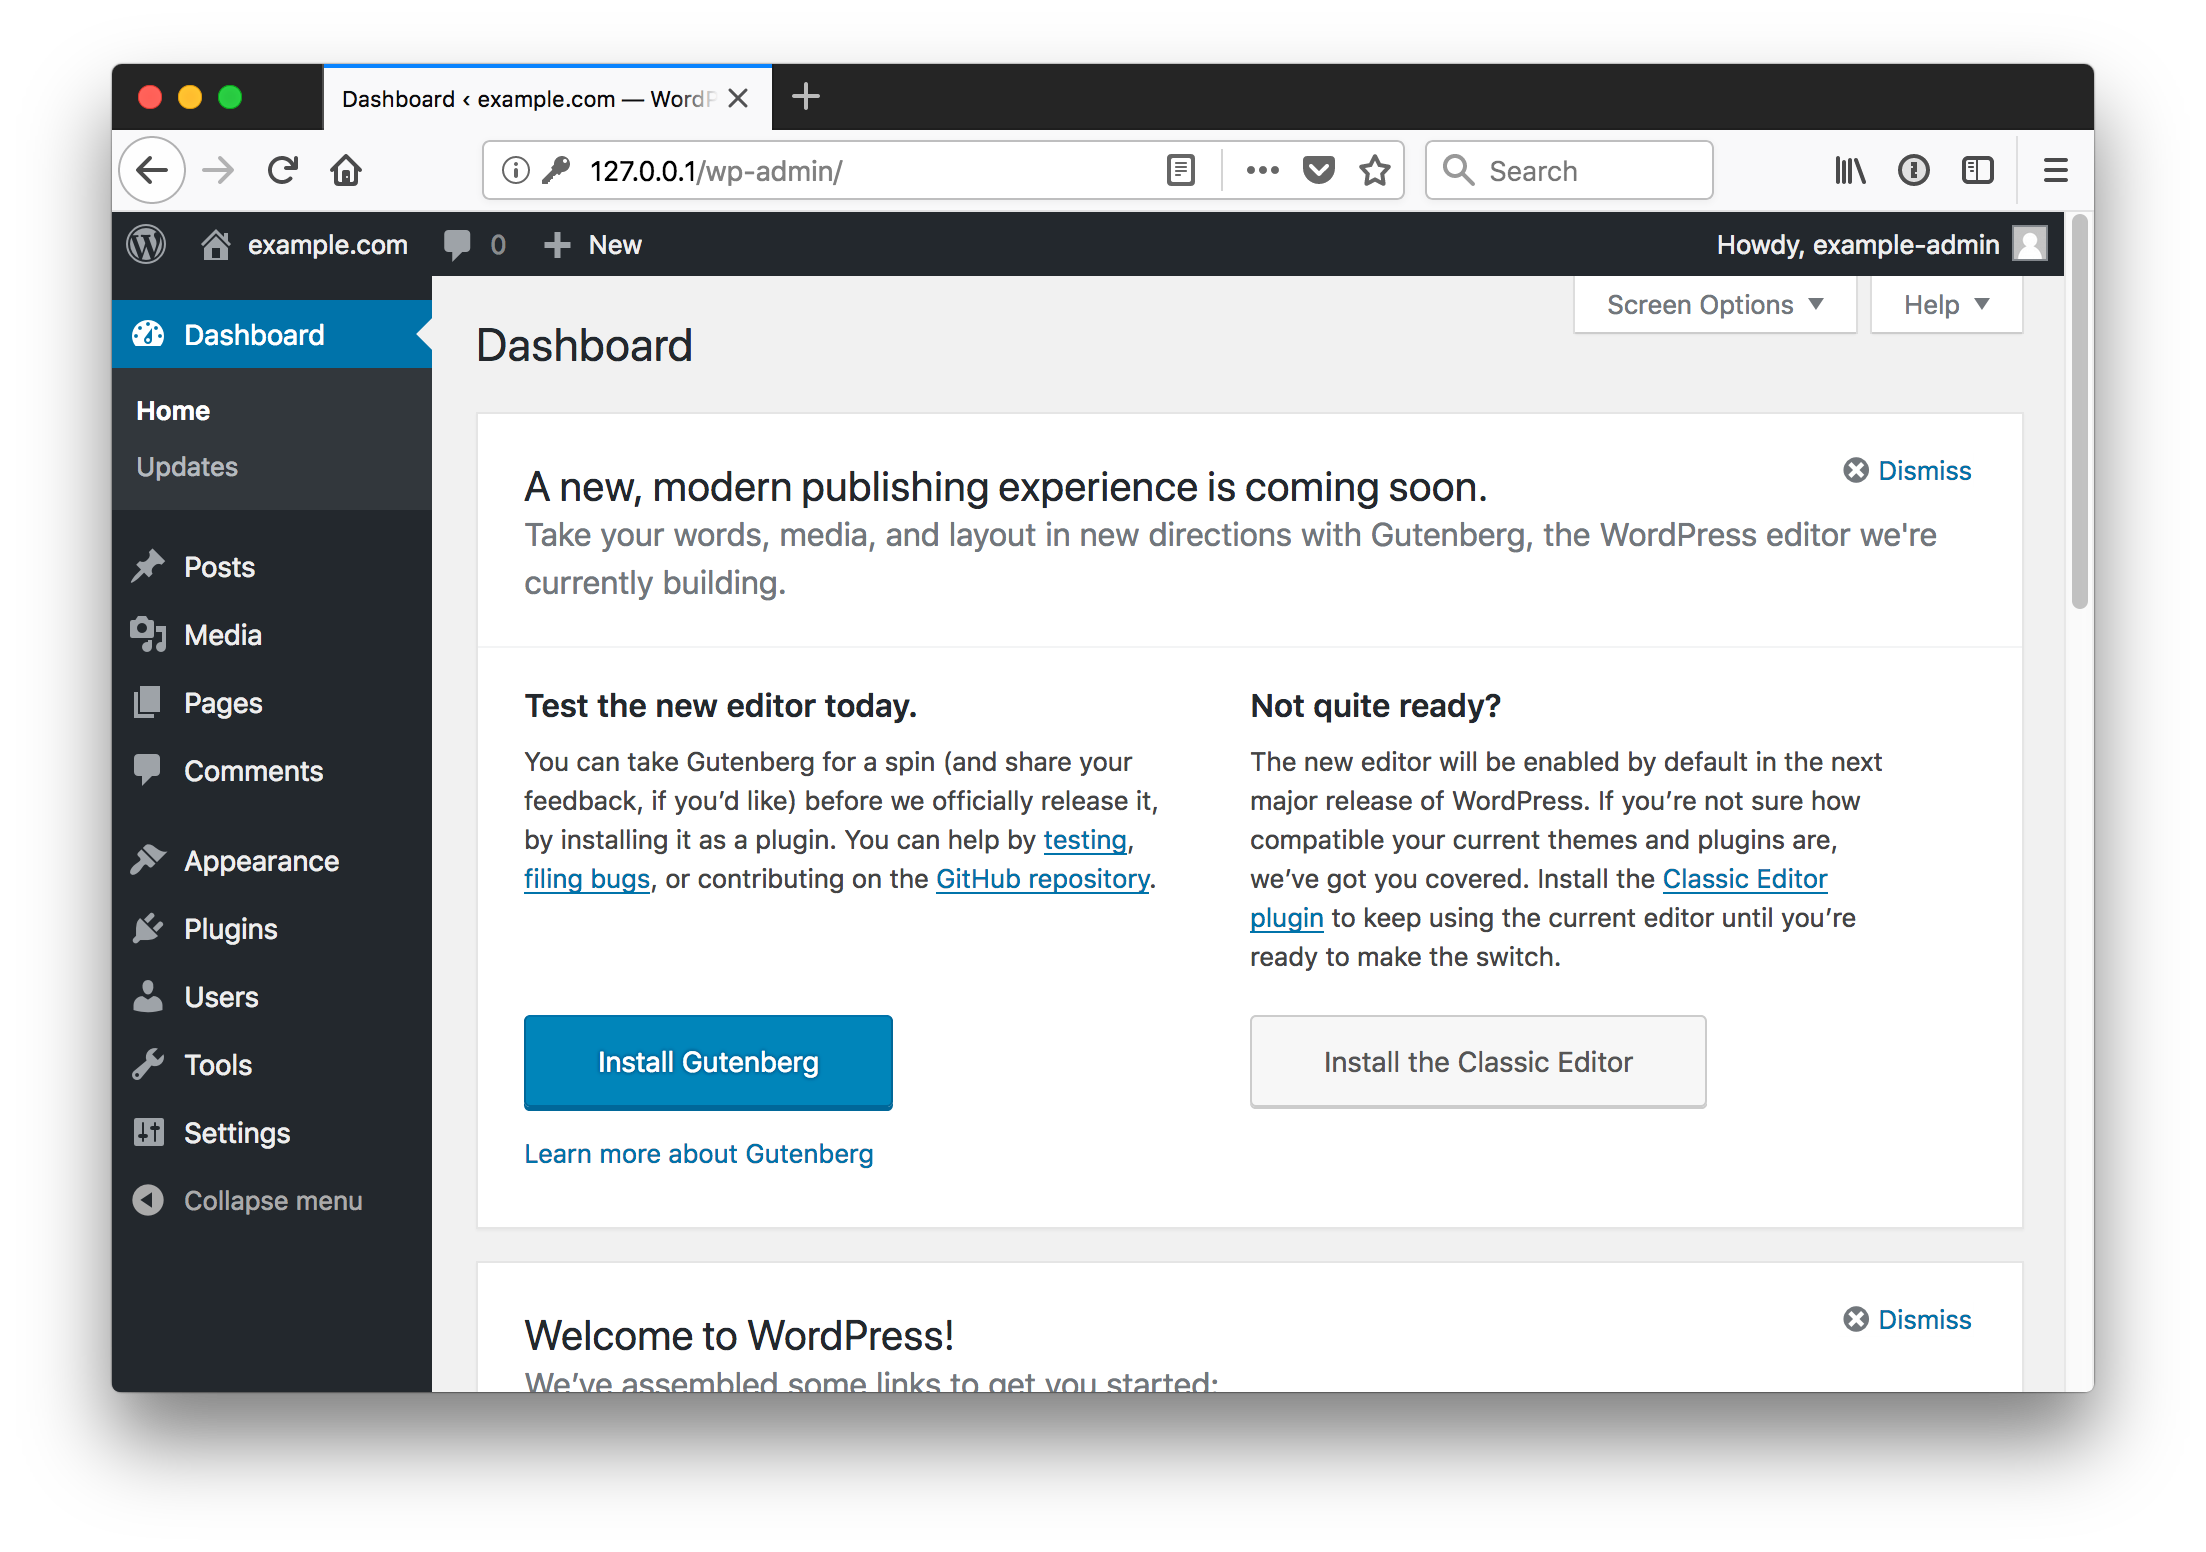
-
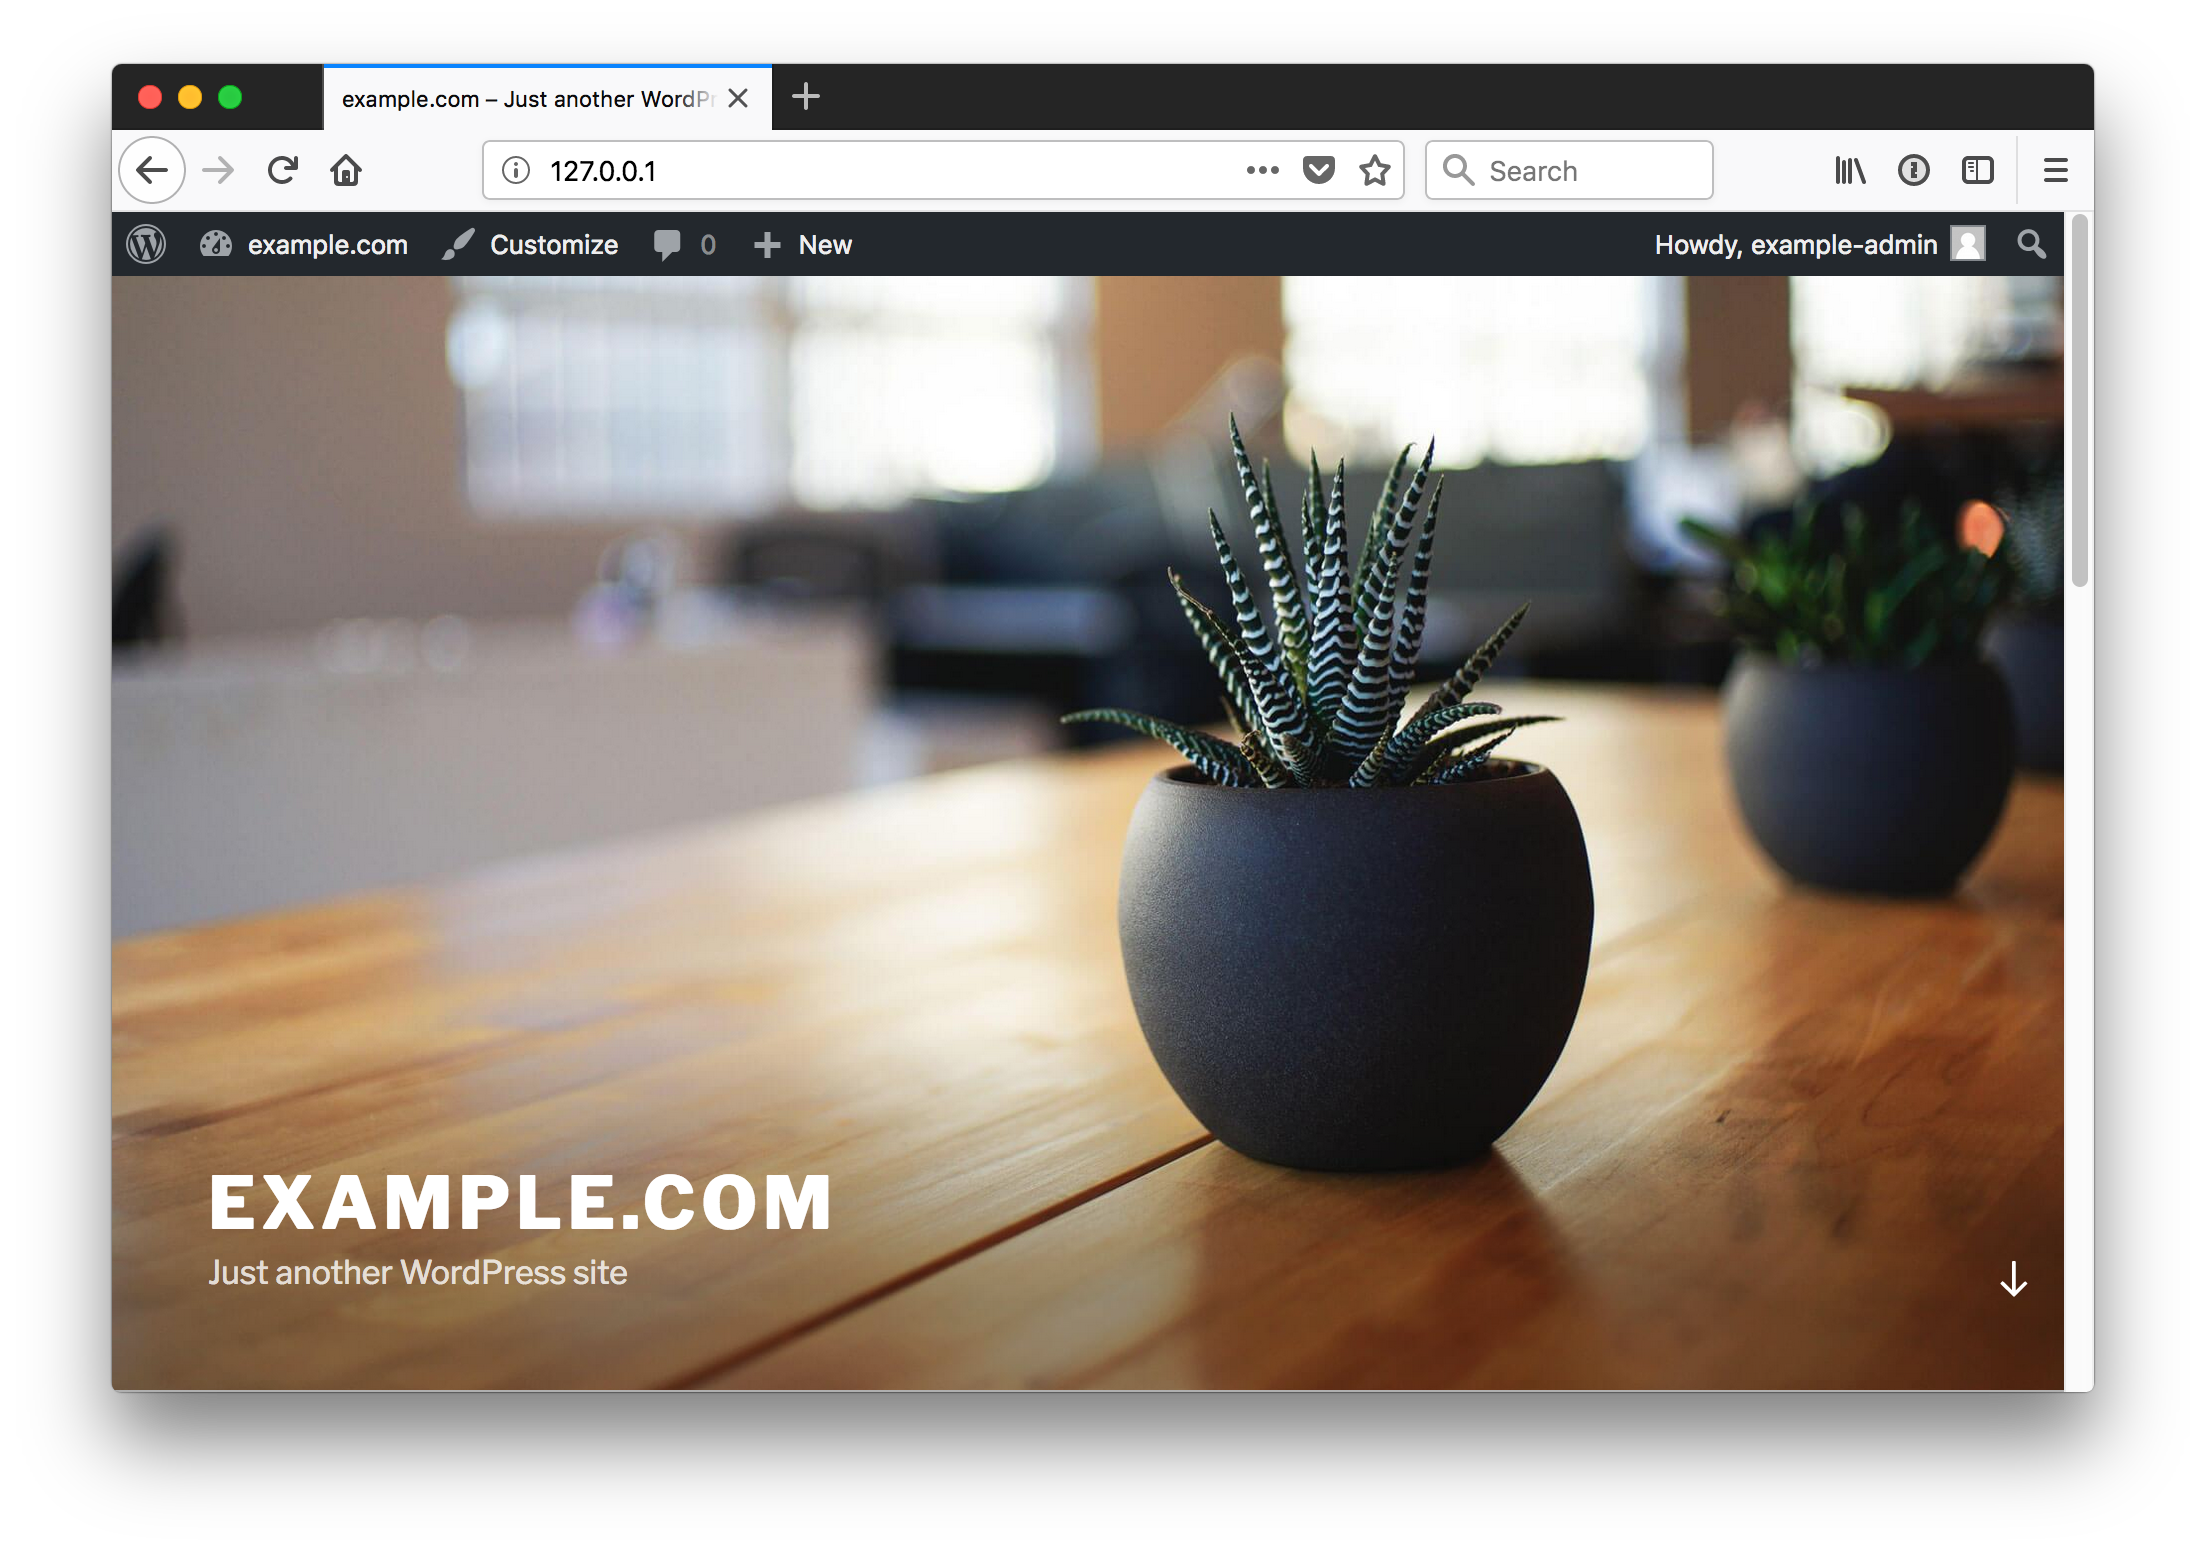
Log in as the administrative user, dashboard, view site


Once your site is running you can begin to create and publish any content you'd like in your WordPress instance.
Because docker-compose.yml was used to define the container relationships it can also be used to stop and remove the containers from the host they are running on. A script named stop-and-remove.sh has been provided to run these commands for you.
Stop and remove containers:
$ ./stop-and-remove.shRemoving all related directories:
WordPress environment variables. See the official image for additional information.
WORDPRESS_DB_NAME: Name of database used for WordPress in MariaDBWORDPRESS_TABLE_PREFIX: Prefix appended to all WordPress related tables in theWORDPRESS_DB_NAMEdatabaseWORDPRESS_DB_HOST: Hostname of the database server / containerWORDPRESS_DB_PASSWORD: Database password for theWORDPRESS_DB_USER. By default 'root' is theWORDPRESS_DB_USER.
    environment:
      - WORDPRESS_DB_NAME=${WORDPRESS_DB_NAME:-wordpress}
      - WORDPRESS_TABLE_PREFIX=${WORDPRESS_TABLE_PREFIX:-wp_}
      - WORDPRESS_DB_HOST=${WORDPRESS_DB_HOST:-mysql}
      - WORDPRESS_DB_USER=${WORDPRESS_DB_USER:-root}
      - WORDPRESS_DB_PASSWORD=${WORDPRESS_DB_PASSWORD:-password}
MySQL environment variables.
- If you've altered the
WORDPRESS_DB_PASSWORDyou should also set theMYSQL_ROOT_PASSWORDto be the same as they will both be associated with the user 'root'.
    environment:
      - MYSQL_ROOT_PASSWORD=${MYSQL_ROOT_PASSWORD:-password}
      - MYSQL_USER=${MYSQL_USER:-root}
      - MYSQL_PASSWORD=${MYSQL_PASSWORD:-password}
- MYSQL_DATABASE=${MYSQL_DATABASE:-wordpress}If you don't want 'root' as the WORDPRESS_DB_USER, then the configuration variables in .env can be updated in the following way.
Example:
# wordpress - wordpress:php7.3-fpm
WORDPRESS_DB_NAME=wordpress
WORDPRESS_TABLE_PREFIX=wp_
WORDPRESS_DB_HOST=mysql
WORDPRESS_DB_USER=wp_user          # new DB user
WORDPRESS_DB_PASSWORD=wp_password. # new DB password

# mariadb - mariadb:latest
MYSQL_ROOT_PASSWORD=password
MYSQL_USER=wp_user                 # same as WORDPRESS_DB_USER
MYSQL_PASSWORD=wp_password         # same as WORDPRESS_DB_PASSWORD
MYSQL_DATABASE=wordpress           # same as WORDPRESS_DB_NAME

# nginx - nginx:latest
NGINX_DEFAULT_CONF=./nginx/default.conf

# volumes on host
NGINX_LOG_DIR=./logs/nginx
WORDPRESS_DATA_DIR=./wordpress
SSL_CERTS_DIR=./certs
SSL_CERTS_DATA_DIR=./certs-dataNeither the mysql container nor the wordpress container have publicly exposed ports. They are running on the host using a docker defined network which provides the containers with access to each others ports, but not from the host.
If you wish to expose the ports to the host, you'd need to alter the stanzas for each in the docker-compose.yml file.
ddclient is part of docker-compose File.By default it's enabled. Remove/Comment out the code from docker-compose.yaml if already running on VPS/host/have static public ip.