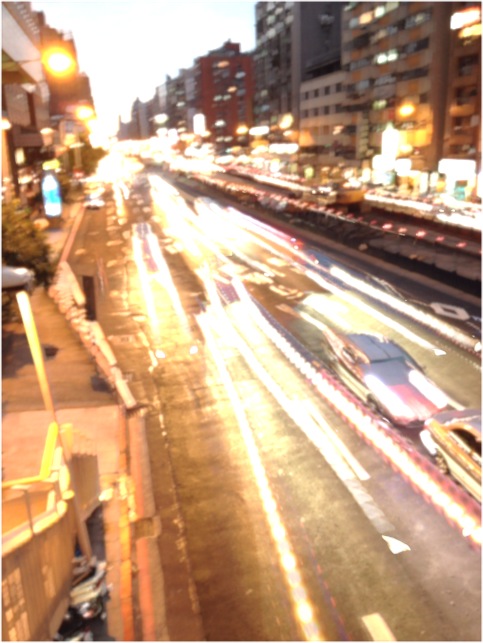
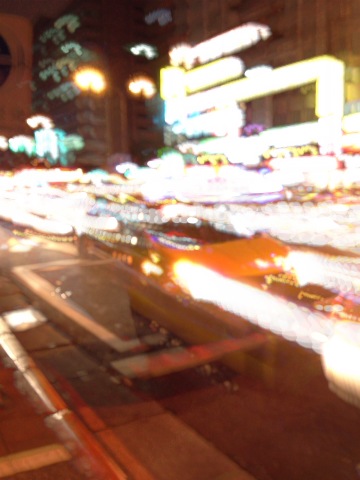
This is a opensource used to make your iPhone Act like a DSLR. SHCamera is just a singleton existing in your application lifecycle.
It is just easy to use
Before start up to use, you have to import the following framework in your app project
#import <AVFoundation/AVFoundation.h>
#import <CoreImage/CoreImage.h>
#import <CoreVideo/CoreVideo.h>
#import <CoreMedia/CoreMedia.h>
#import <QuartzCore/QuartzCore.h>
#import <Accelerate/Accelerate.h>
#import <MediaPlayer/MediaPlayer.h>
And in your view controller or view you want to use this object, just import it with
#import "SHCamera.h"Now we are going to start
// Set up preview in view and of course, you can set up its property to control its behavior
// This code can be put in anywhere
SHCamera *camera = [SHCamera sharedInstance];

// This will ask camera to start run session
[camera showViewInCamera];

// Setup the preview View
UIView *imgView = [[UIView alloc] initWithFrame:CGRectMake(0, 0, self.view.frame.size.width, self.view.frame.size.height - TOOLBAR_HEIGHT)];
imgView.tag = IMGVIEW_TAG;
[self.view addSubview:imgView];

// Layout its subview
- (void)viewDidLayoutSubviews
{
    UIView *imgView = [self.view viewWithTag:IMGVIEW_TAG];
    [[SHCamera sharedInstance] setUpPreviewView:imgView];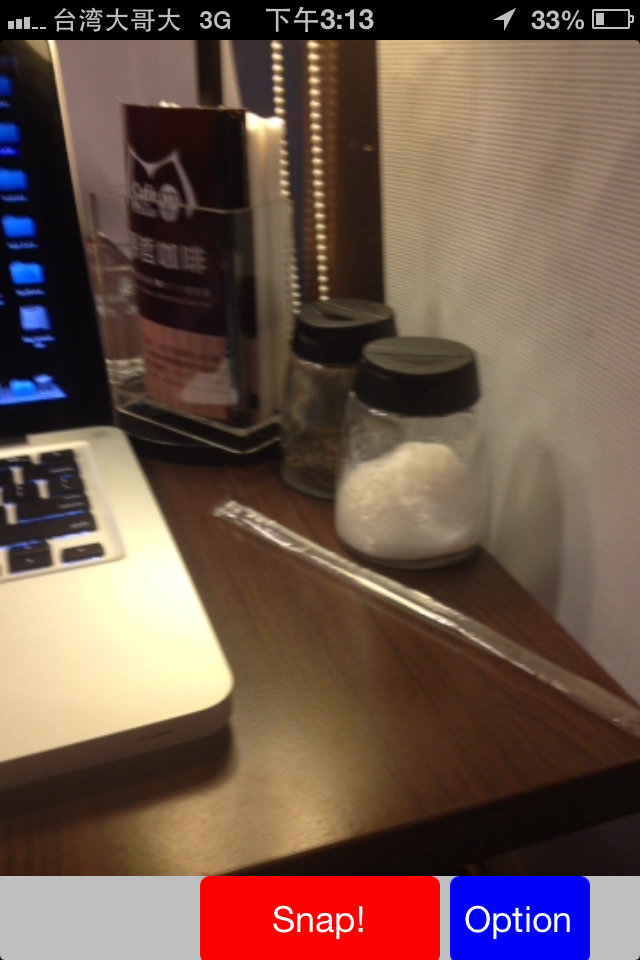
}Use the method takeSnap: withCompletetion:^(UIImage *image) and you can easily to take a photo with a long exposure
[[SHCamera sharedInstance] takeSnap:^{
// Things you want to do in the beginning of taking photos
// Such show up a alertview or inidcator view
} withCompletetion:^(UIImage *image) {
// Things you want to do when finishing of taking photos
// Such saving photos to your camera roll
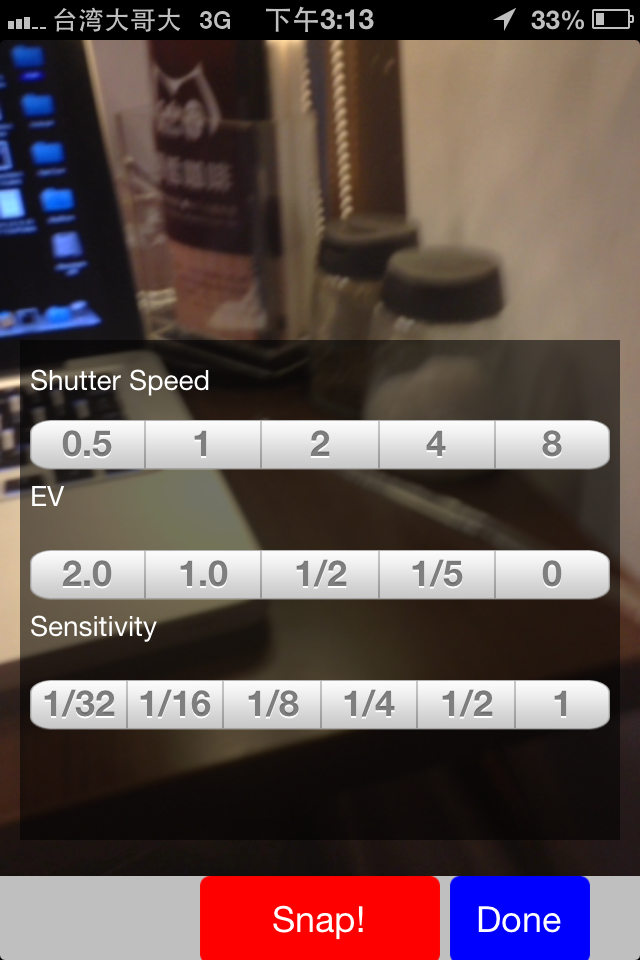
}];Property used to control sensitivity, when the value gets higher, your photo will gets more lighter In general we suggest you to set this value less than 1. The most suitable value could be 1/16 or 1/8. This default value is 1.
@property (nonatomic) CGFloat sensitivity;Property used to control light, when the value gets higher, your photo will gets more lighter This default value is 0.5.
@property (nonatomic) CGFloat ev;Property used to control exposure time in seconds, when the value gets higher, your photo will gets more lighter This default value is 0.5 seconds Note that if this value is too large, it will affect your iPhone's performance or take out all of your memory. The suitable range could be 1/30 seconds to 30 seconds.
@property (nonatomic) float exposureTime;Set the camera is back or front The default value is YES.
@property (nonatomic) BOOL isCameraBack;The image view used for showing frame buffer in camera's view
@property (nonatomic, readonly) UIView *imgView;Singleton method used for initialization
+ (id)sharedInstance;Start to run image buffer coming from your camera
- (void)showViewInCamera;Stop running image buffer coming from your camera
- (void)stopViewInCamera;Required method, set the preview image view to show buffer from your camera. Without this method, your app will show nothing from your camera's view.
- (void)setUpPreviewView:(UIView *)imgView;Method used for taking photos
- (void)takeSnap:(CameraBegin)begin withCompletetion:(CameraResult)result;In this example we just show the easiest way to demo how to take a long exposure picture with iPhone. This class SHCamera still need to be improved, and if you find any question about this demo, just email us.
This step we just use ARC to build up this class