


Convert Code_Aster MED/RMED simulation results into LIMIT .linp / .lui input files for fatigue analysis.
- Shell workflows (DKT elements: S3, S4) with orientation (REPLO/CARCOQUE) handling
- Linear solid workflows (C3D8 / HEXA8, C3D6 / PENTA6) with validated LIMIT node ordering
- Multi-step / multi-increment displacement and stress transfer
- Optional shell orientation file, or read directly from
IMPR_CONCEPTembedded result file
- Python 3.9 - 3.13
- Git LFS (only needed if you clone the repository to access the example files)
Install med2limit with pip into a virtual python environnement (venv):
python3 -m venv .venv
source .venv/bin/activate
pip install med2limit- Identify weld groups as Group_NO (not Group_MA), 1 node set per weld and duplicated node set and to have right and left weld node set.
- For shell element, extract top/bottom stresses as:
#Ensure to name the concept "SIEF_SUP" and "SIEF_INF"
SIEF_SUP=POST_CHAMP(RESULTAT=RESU,
                    EXTR_COQUE=_F(NOM_CHAM='SIEF_ELNO',
                                  NUME_COUCHE=1,
                                  NIVE_COUCHE='SUP',),);

SIEF_INF=POST_CHAMP(RESULTAT=RESU,
                    EXTR_COQUE=_F(NOM_CHAM='SIEF_ELNO',
                                  NUME_COUCHE=1,
NIVE_COUCHE='INF',),);- For shell element, extract orientation/tichkness as:
IMPR_CONCEPT(FORMAT='MED',
             UNITE=80, --> Same unit as your results or in a dedicated file
             CONCEPT=(_F(CARA_ELEM=Elem,
                         REPERE_LOCAL='ELEM',
MODELE=Modell,),),) From 01_exemple in folder:
med2limit/exemples/01_exemplemed2limit 01_exemple.rmed output.linp output.lui --groups "Shell1,Shell2" --nsets "WeldNO"With separate orientation file:
med2limit 01_exemple.rmed output.linp output.lui 01_carcoc.rmed --groups "Shell1,Shell2" --nsets "WeldNO"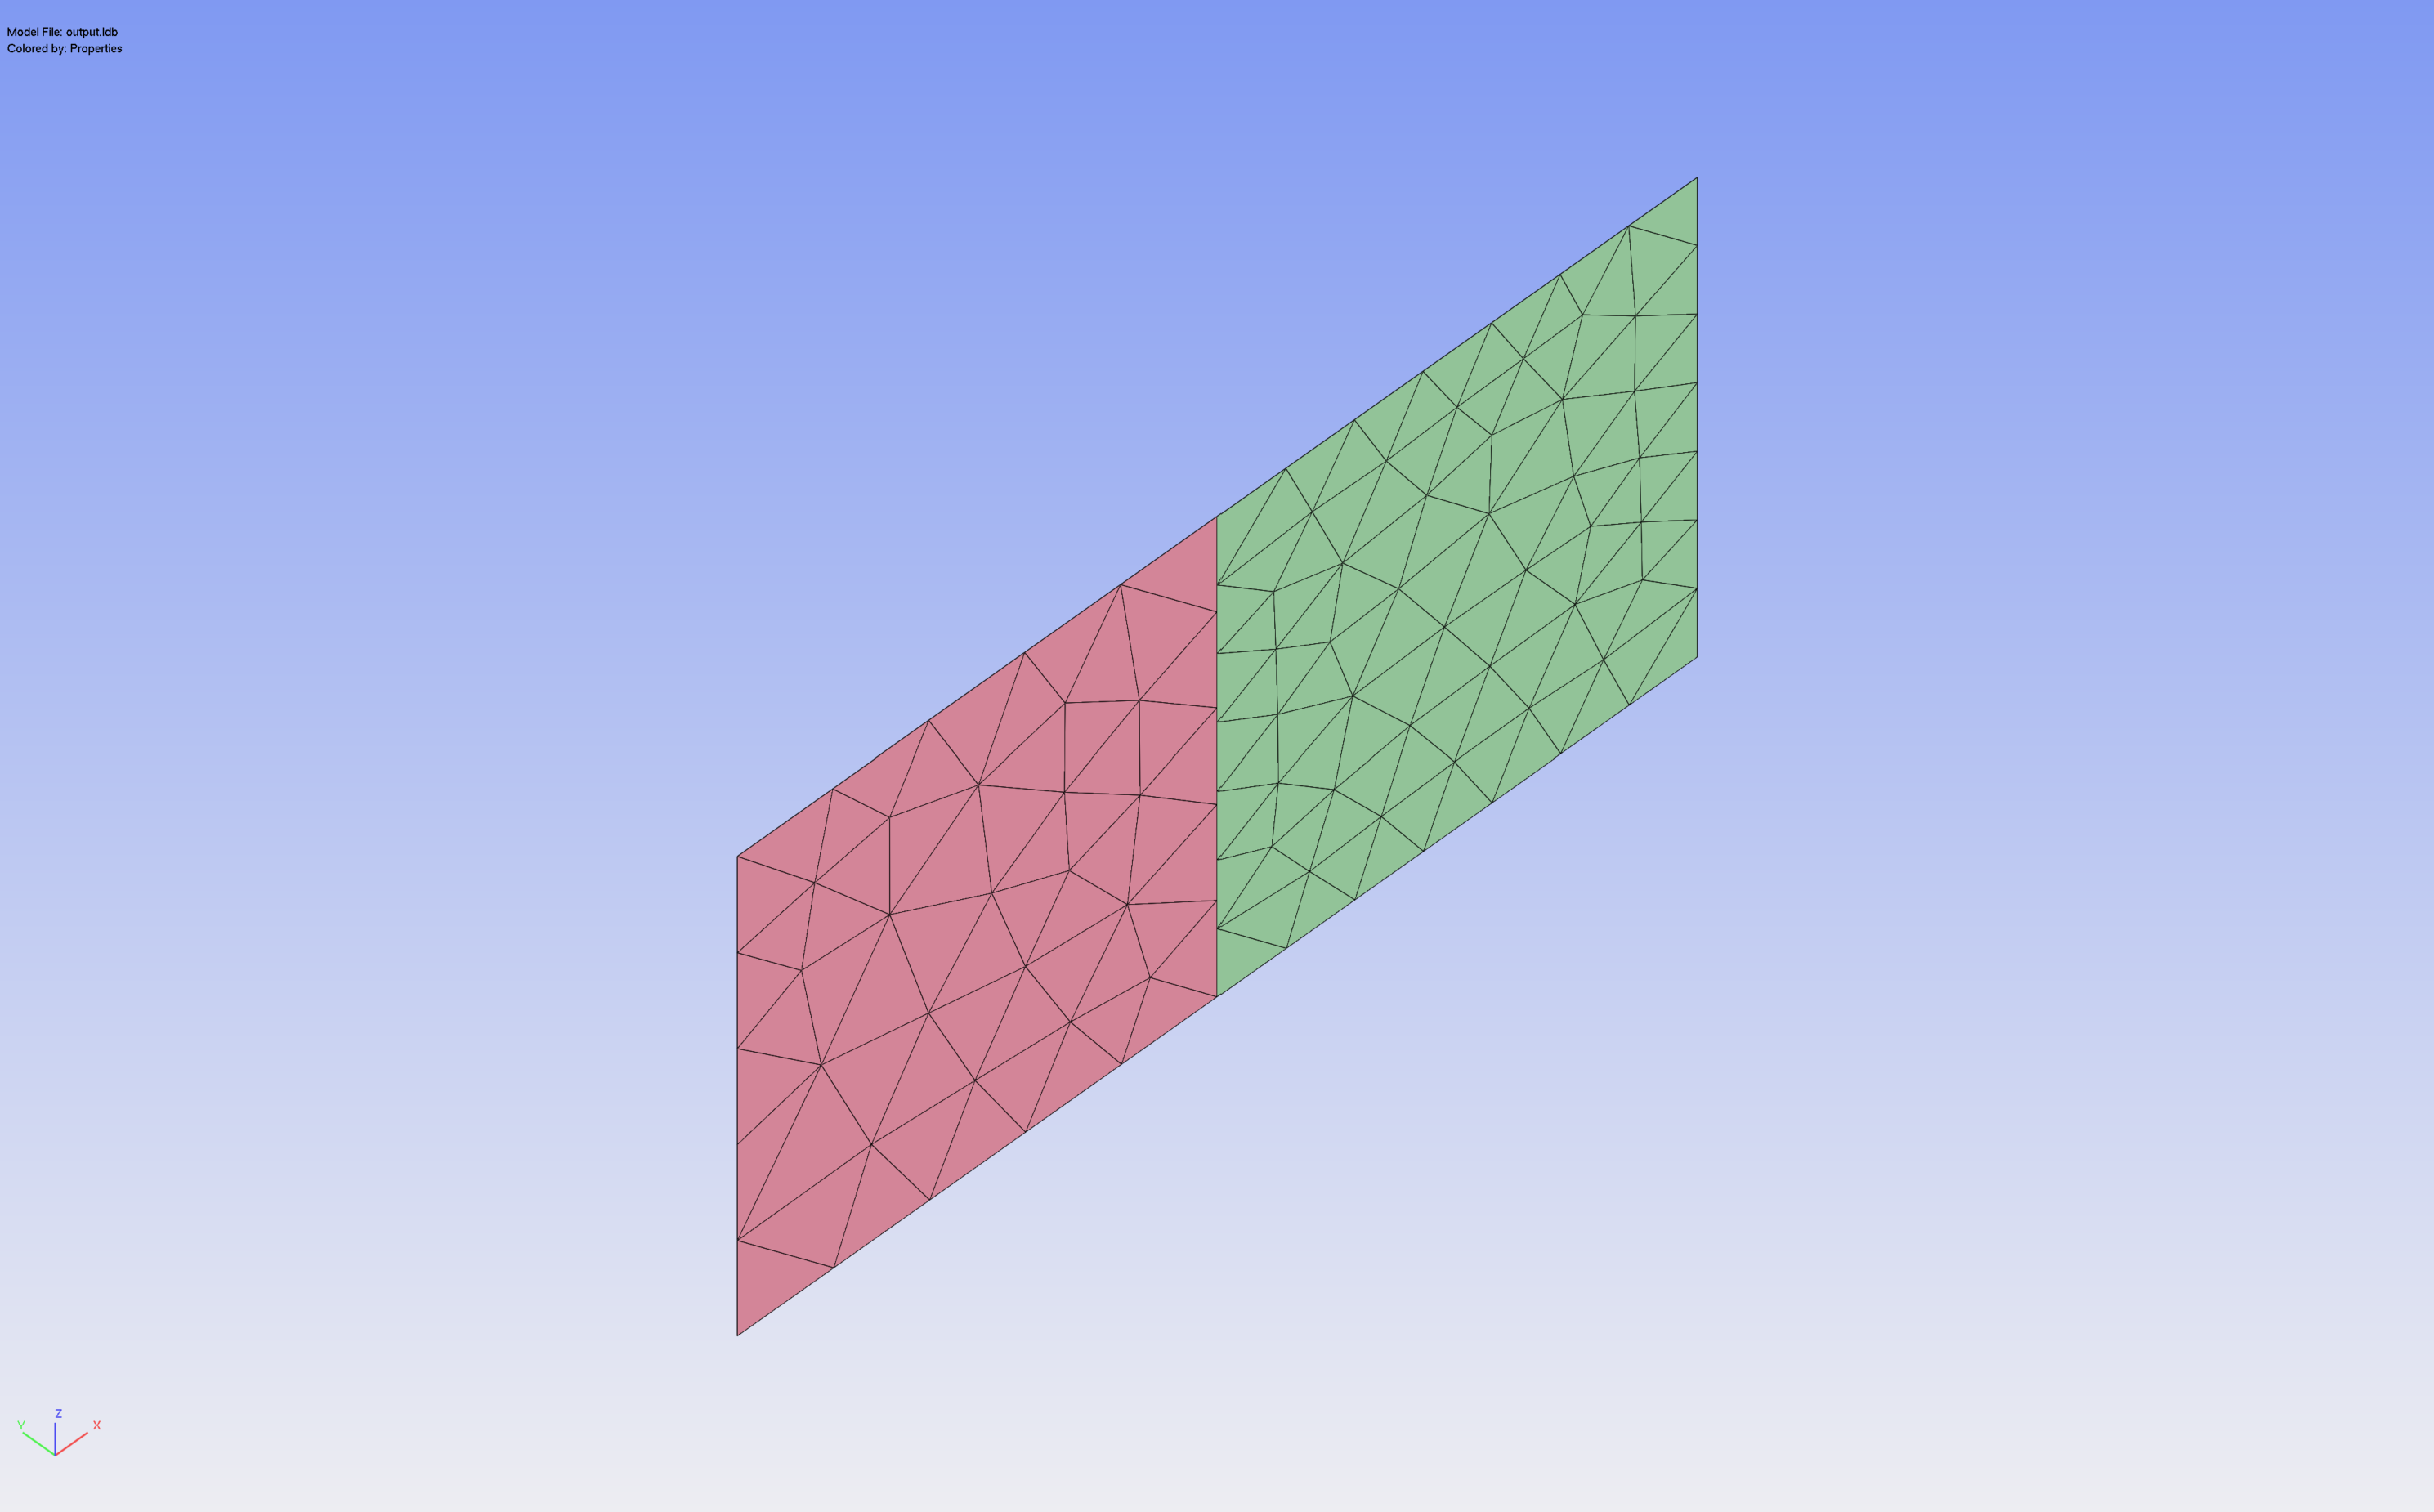
med2limit/exemples/02_exemple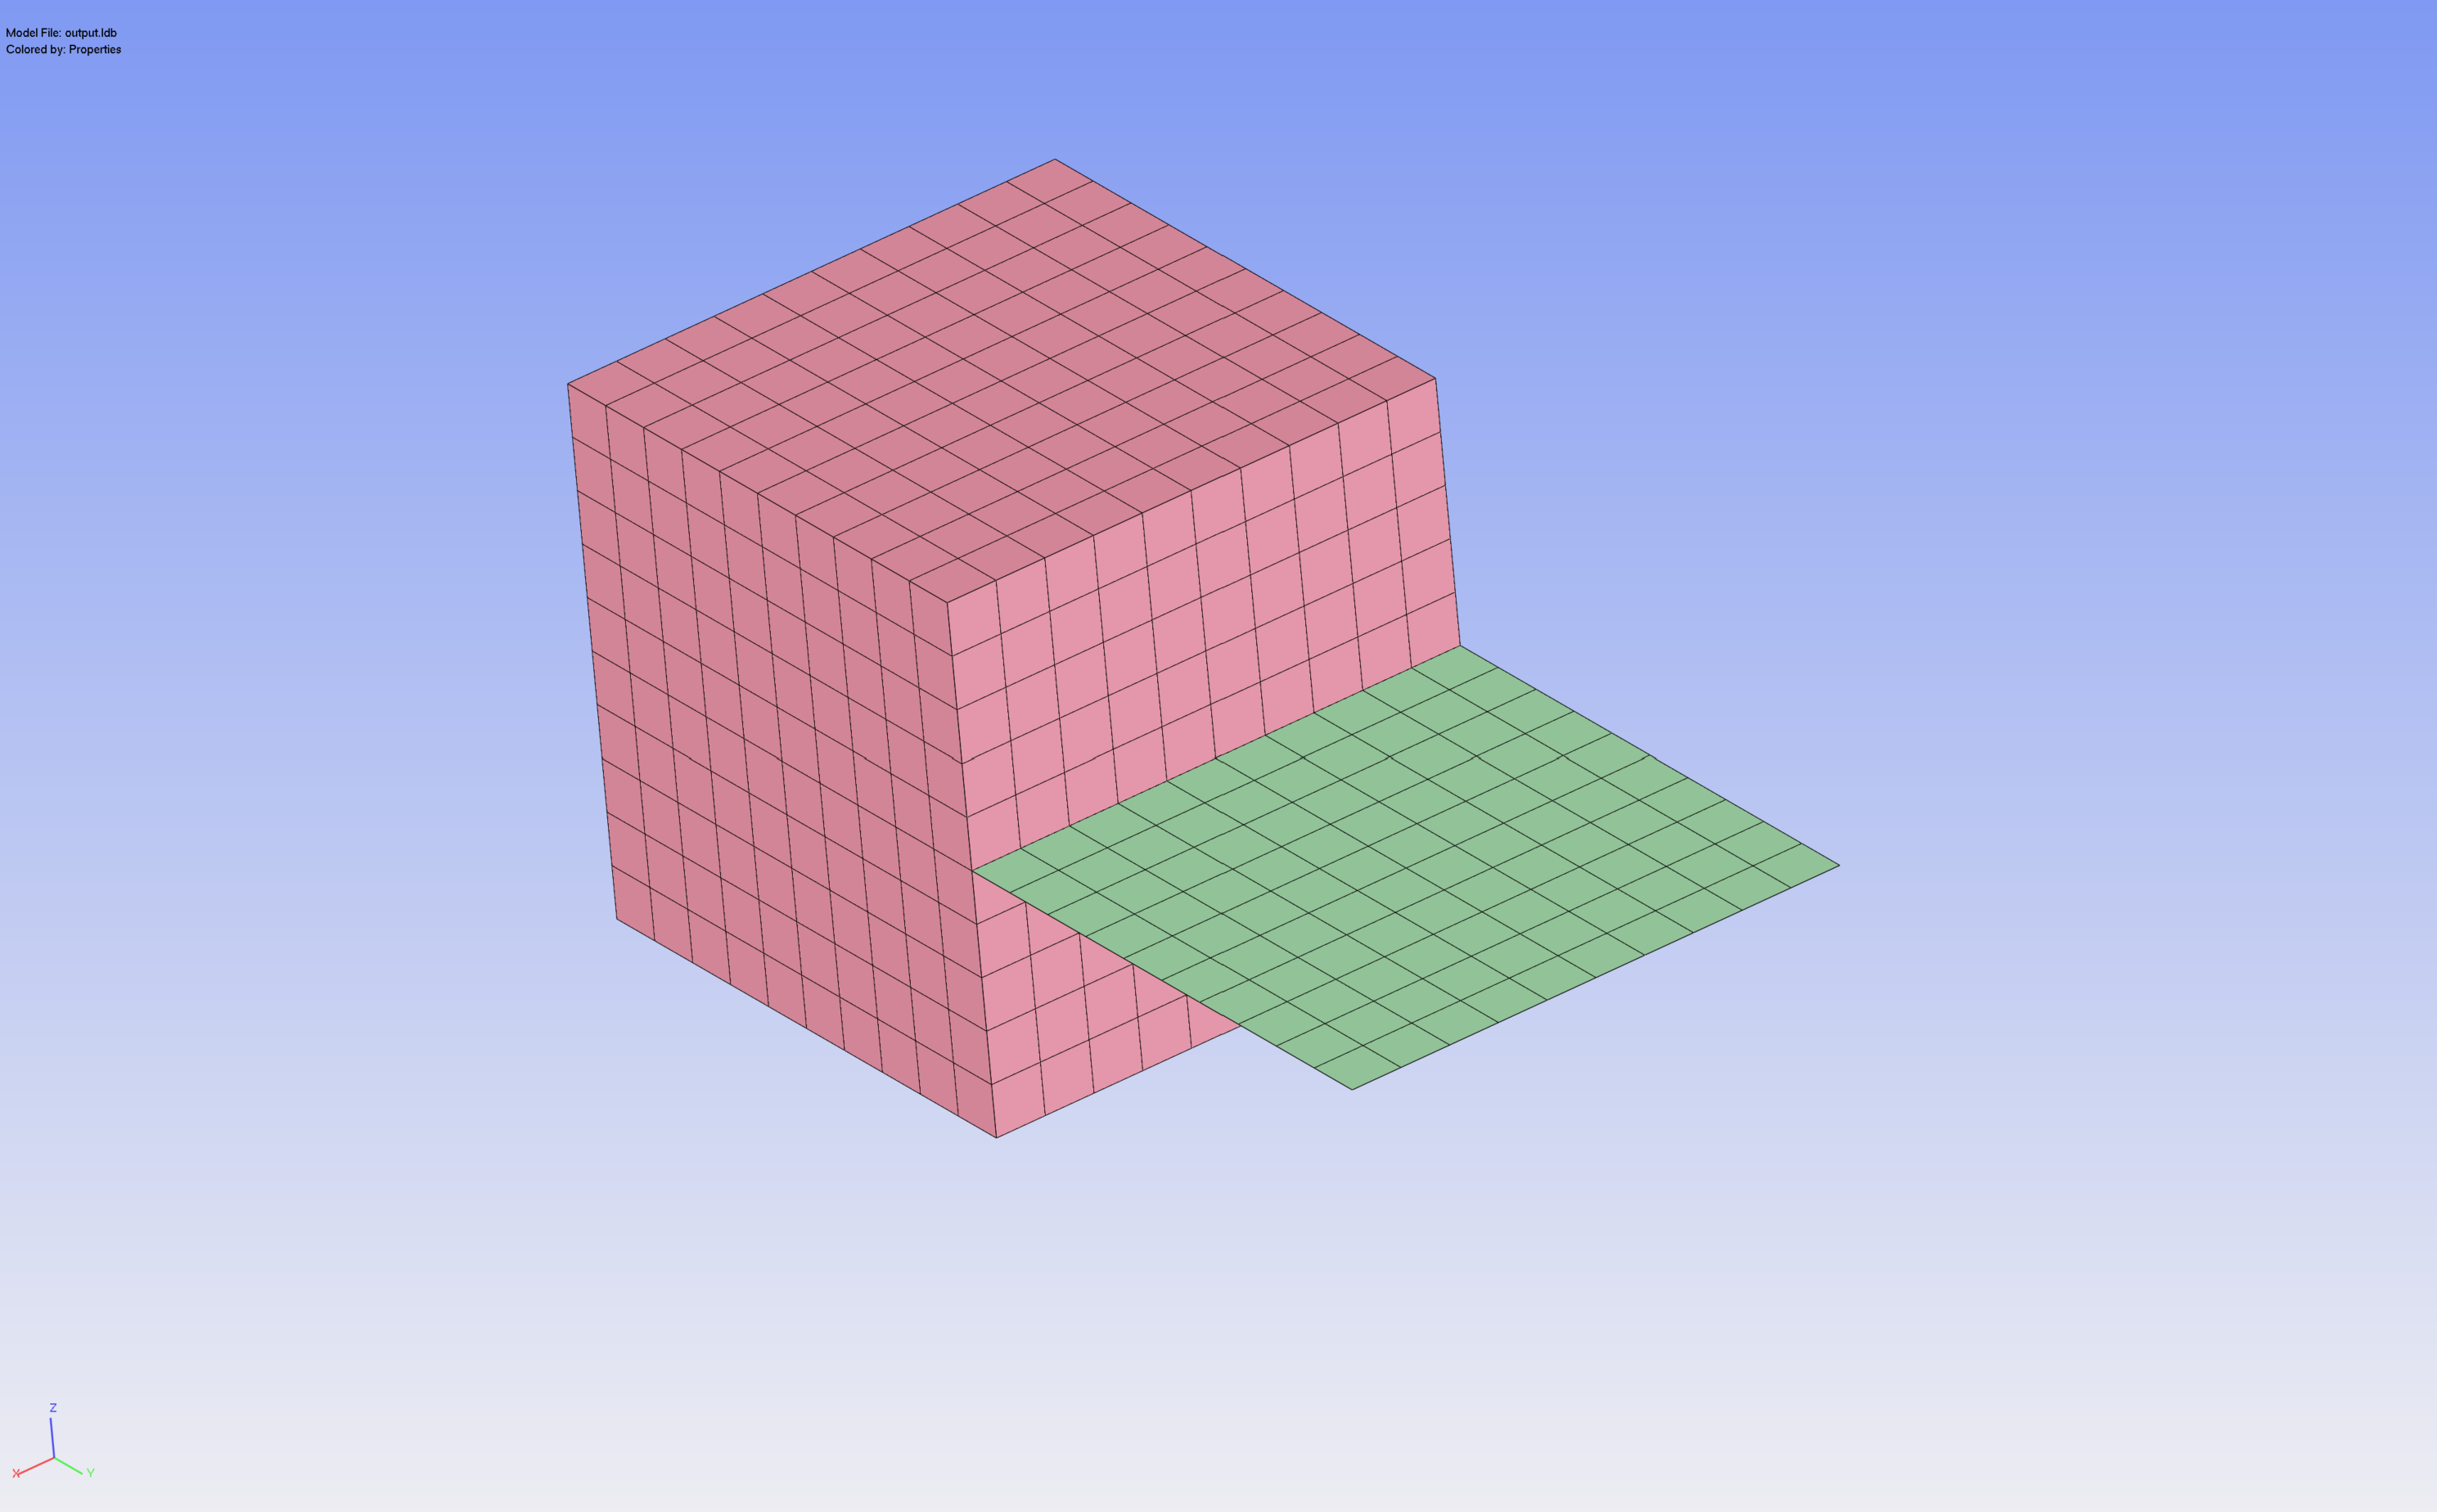
from med2limit import MEDToLimitConverter

conv = MEDToLimitConverter(
    med_filename="LIMIT1.rmed",
    linp_filename="out.linp",
    lui_filename="out.lui",
    active_groups=["Shell1", "Shell2"],
    active_nsets=["WeldNO"],
)
conv.convert()med2limit/
├── element_types.py # MED↔LIMIT type mapping + helpers (pure)
├── reader.py # MED file open + field lookup
├── mesh.py # nodes, elements, GROUP_MA, GROUP_NO
├── fields.py # DEPL + SIEF over all timesteps
├── orientation.py # REPLO + CARCOQUE (embedded or separate)
├── filter.py # active group selection + shell metadata
├── result_mapper.py # per-timestep stress/displacement mapping
├── writer.py # .linp + .lui output
├── converter.py # orchestrator (step_1 .. step_6 + convert)
└── cli.py # CLI + in-script config
pytest                              # all tests
pytest tests/test_element_types.py # one moduleReleases are fully automated via GitHub Actions and PyPI Trusted Publishing. To publish a new version:
- Update the
versionfield inpyproject.toml(e.g.1.2.0). - Add a
## [1.2.0]section toCHANGELOG.mddescribing the changes. This section is mandatory: it is extracted automatically and used as the GitHub release notes. - Merge these changes into
main. - Create and push a tag matching the version, from the merged commit on
main:
git checkout main && git pull
git tag 1.2.0
git push origin 1.2.0
The Release workflow then runs the full CI suite (tests + build), and if everything passes, builds the distributions, publishes them to PyPI and creates the GitHub release with the changelog notes attached.
The workflow will abort if the tag does not point to a commit on main, if the tag does not match the version in pyproject.toml, or if no matching section exists in CHANGELOG.md. No PyPI token is needed: publication uses OIDC Trusted Publishing.
- Quadratic solids (C3D10, C3D15, C3D20) — node ordering not yet validated in LIMIT
- Shell elsets with mixed thicknesses use the most-frequent value (with warning)
Special thanks to Tobias and Nikolaus for their feedback as early adopters and their patience during the iterative development of the converter.